Table of Contents
Table of Contents
Baking has always been my happy place, but nothing brings back warm and cozy memories like the aroma of freshly baked cookies wafting through my kitchen. I still remember the first time I tried a Twix Thumbprint Cookie at a family gathering; it was love at first bite. The rich buttery flavor, chewy caramel, and melted chocolate danced together on my taste buds, sending me straight back to my childhood! These cookies are like a warm hug; they not only satisfy your sweet tooth but also evoke feelings of nostalgia.
What sets my Twix Thumbprint Cookies apart from all the other cookie recipes out there? It’s all about the balance of flavors and textures: buttery softness, gooey caramel, and a delightful chocolate drizzle that elevates each bite. This recipe is not just a cookie; it’s an experience steeped in family tradition and shared laughter, perfect for any gathering or a quiet afternoon treat.
In this post, I’ll guide you through making these delectable Twix Thumbprint Cookies, sharing tips from my own kitchen adventures. Whether you’re a novice baker or a seasoned pro, I promise you’ll find joy in every step. Let’s dive into the sweetness!
What Are Twix Thumbprint Cookies?
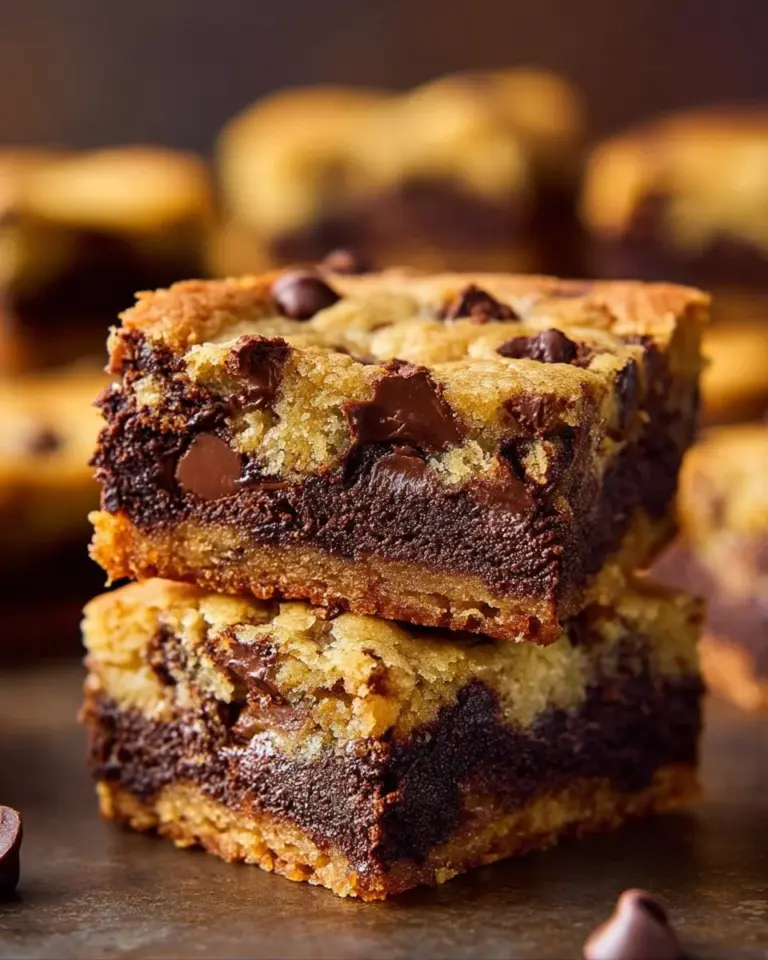
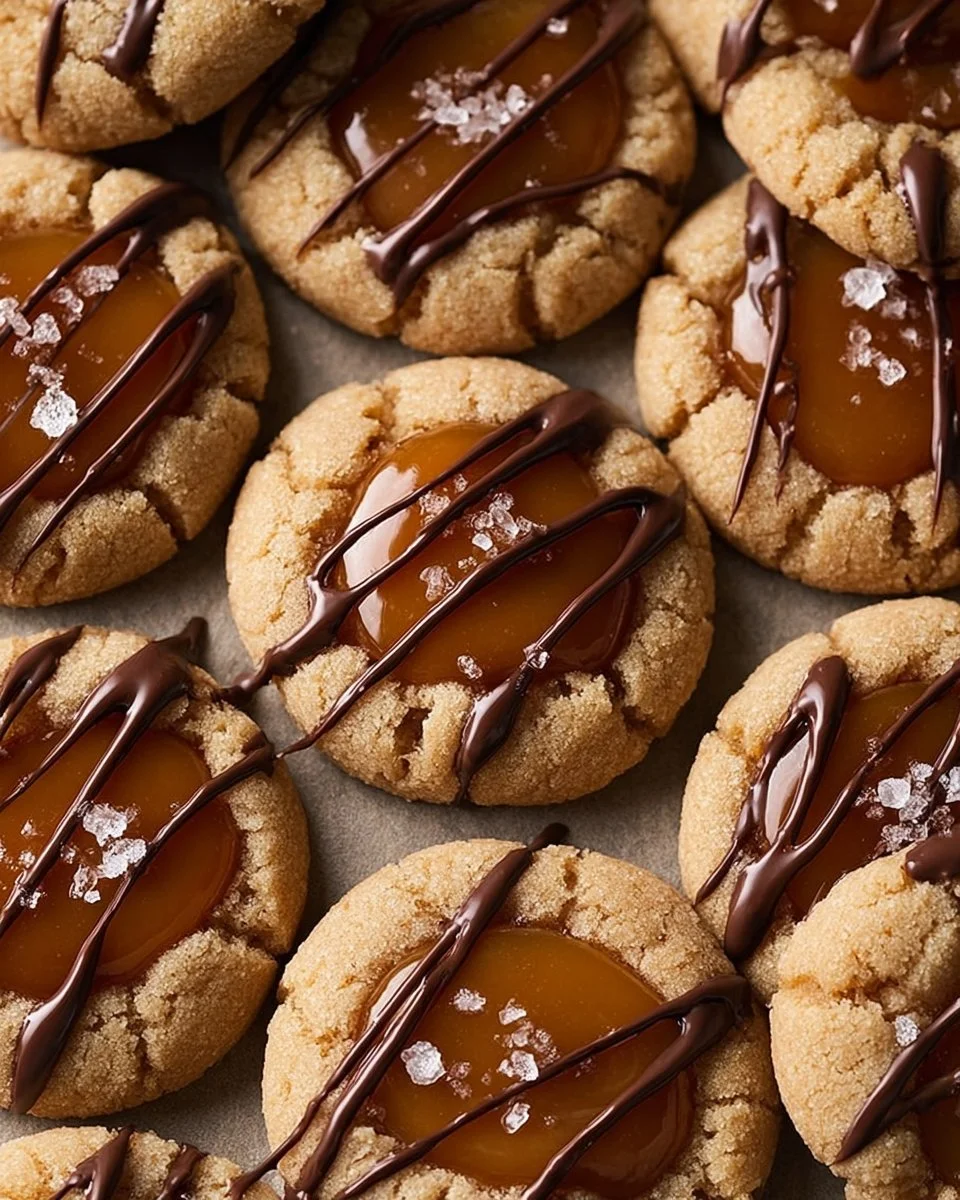
Twix Thumbprint Cookies are a delightful fusion of classic thumbprint cookies and the beloved flavors of a Twix candy bar. Traditionally, thumbprint cookies have a small indentation in the center, typically filled with jam or chocolate but in this version, we swap those out for a luscious caramel filling. The sweet surprise of soft caramel wrapped in a buttery cookie creates a flavor explosion that is hard to resist!
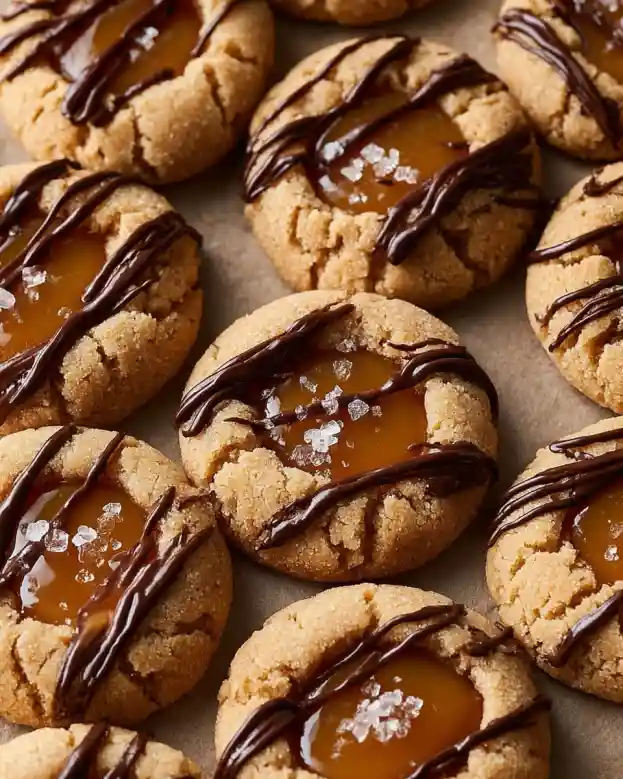
In terms of taste and texture, these cookies are a dream come true. You’ll experience the slight crispness of the edges while the center remains soft and chewy, almost like a miniature caramel cookie cake. The sweetness of the caramel complements the buttery notes perfectly, and the drizzle of milk chocolate on top is the cherry on the sundae!
Twix Thumbprint Cookies are perfect for holiday gatherings, birthday parties, or anytime you’re in need of a sweet pick-me-up. They’re great for sharing, but let’s be honest, you might want to keep a few all to yourself!
Why You’ll Love This Recipe
Here are a few reasons that will make you fall head over heels for these Twix Thumbprint Cookies:
Flavor Fusion: These cookies blend the best of both worlds—the soft cookie base traditional in thumbprints with the scrumptious caramel from Twix bars. You won’t find this flavor combination in typical store-bought cookies!
Customizability: Feel free to experiment with flavors! Use different types of chocolate or even switch out the caramel for peanut butter or fruit preserves. The possibilities are endless, letting you create your own masterpiece.
Cost-Effective: Making your own cookies can save you money compared to pricier gourmet cookies from the store. You can whip up a batch of mouthwatering Twix Thumbprint Cookies for a fraction of the cost.
Difficulty Level: Don’t stress! These cookies are remarkably straightforward to make. With a little help from the Chef’s Tips scattered throughout, you’ll be able to navigate the recipe with confidence—even if you’re a beginner.
The Aroma: As you bake them, the buttery scent mixed with caramel will fill your kitchen with an irresistible aroma, making your home feel warm and inviting—perfect for those cozy evenings in!
With all these fantastic features, these cookies are bound to become a staple in your baking repertoire!
Ingredients Section
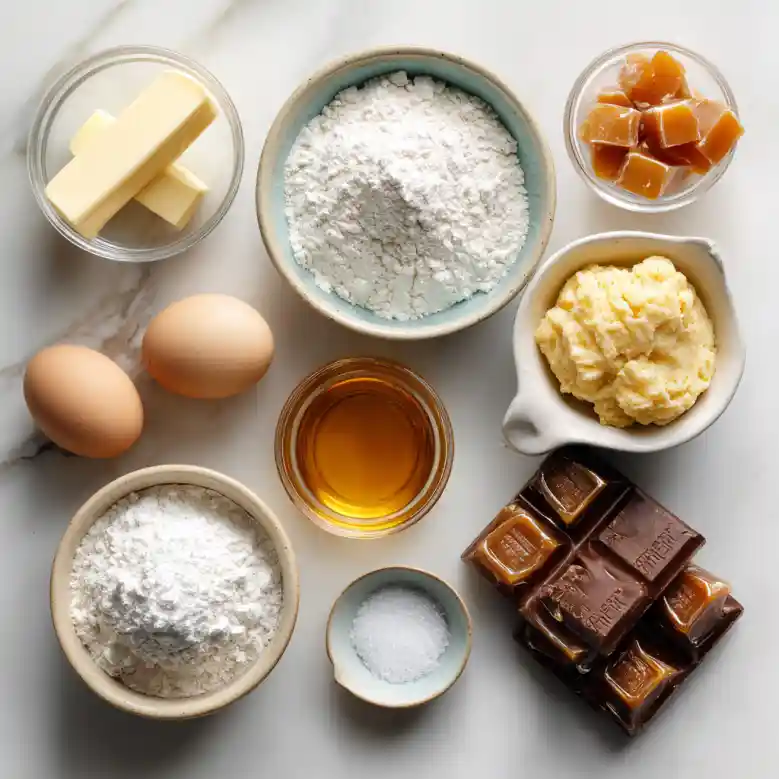
To make these delicious Twix Thumbprint Cookies, you’ll need the following ingredients:
- 1 cup (222g) salted butter, softened: Use high-quality butter (like Kerrygold) for a rich flavor.
- 1 1/4 cups (137g) powdered sugar: Make sure to sift for a smoother texture.
- 1 egg: Room temperature eggs mix in easier and create a fluffier dough.
- 3 teaspoons vanilla extract: Pure vanilla extract enhances the cookie’s flavor.
- 2 1/2 cups (295g) cake flour: Cake flour yields a tender and soft cookie texture.
- 1 teaspoon baking powder: For a little lift.
- 1/2 teaspoon salt: Balances the sweetness.
- 30 soft caramels: I recommend Werther’s Original – they melt beautifully!
- 1 tablespoon milk: Used to melt the caramels smoothly.
- 1/2 cup milk chocolate (melting wafers or chips, melted for drizzling): I love Ghirardelli’s melting wafers for a silky finish.
Preparation Notes:
- Allow your butter to sit out for about 30 minutes to reach room temperature for easier blending.
- Make sure the eggs are at room temperature too. This helps in creating a uniform dough.
Step-by-Step Instructions
Preheat Your Oven: First things first, preheat your oven to 350°F (180°C) and line a cookie sheet with parchment paper or a silicone baking mat to keep things mess-free.
Cream Together the Butter and Sugar: In a large mixing bowl, combine the softened salted butter and powdered sugar along with the egg. Mix until everything is well blended and creamy—this should take about 2-3 minutes.
Mix in the Vanilla: Add the vanilla extract and mix it thoroughly for that extra flavor boost. Just a heads up, your kitchen will start to smell amazing!
Combine Dry Ingredients: In a separate bowl, whisk together the cake flour, baking powder, and salt. Gradually add this dry mixture to the wet ingredients until you get a very soft dough. Let it rest for about 5 minutes so it’s easier to work with.
Form the Cookies: Using your hands, portion the dough into tablespoon-sized balls and roll them up. Place them on your prepared sheet with enough space in between since they will spread a bit.
Create the Thumbprint: Dip your thumb (or use a measuring spoon) in flour and press down the center of each ball to make a crater. Remember, don’t wait until they cool or they’ll crack!
Bake: Bake the cookies in the preheated oven for about 10-12 minutes until they’re slightly golden around the edges, but still soft in the center.
Fill with Caramel: While the cookies are still warm, press down the centers again with a 1 tablespoon measuring spoon to deepen that thumbprint if needed. In a microwave-safe bowl, microwave the soft caramels and milk for about 30 seconds, then stir until smooth. Spoon the caramel into each cookie’s center and let it set (pop them in the fridge for a few minutes to speed things up).
Chocolate Drizzle: Lastly, melt your milk chocolate and drizzle it over the top of the caramel-filled cookies. Let it cool completely before digging in!
Storage: Store any leftovers in an airtight container at room temperature or in the fridge for up to 4 days—if they last that long!
Expert Tips & Tricks
Here are my top tips to ensure your Twix Thumbprint Cookies turn out flawlessly:
Use Room Temperature Ingredients: This helps create a smooth dough and ensures even baking.
Don’t Overmix: Once you combine the dry and wet ingredients, mix just until combined. Overmixing can make your cookies tough.
Make a Test Batch: If you’re unsure about the baking time, make one test cookie. This way, you can check if the texture is what you desire.
Caramel Tips: If the caramel is too thick, add a little more milk. Don’t stress if it overflows a bit; it only adds to the gooey goodness!
Customization: Try different fillings! Substitute the caramel with fruit preserves or adapt the chocolate to dark or white chocolate according to your preference.
Storage: If you’re not eating them all at once, they can also be frozen for up to 3 months. Just make sure they’re well sealed.
Make-Ahead: You can prepare the dough the night before and refrigerate it. Just be sure to let it warm up a bit before shaping the cookies.
Party Friendly: Consider doubling the batch for parties—the last thing you want is an empty cookie platter!
Don’t Skip the Resting Time: Letting the dough rest really helps it to firm up, making it easier to shape and manage.
Feedback is Gold: Share with friends and family to get their feedback. You might get inspired for your next cookie adventure!
Serving Suggestions
When it comes to serving these delectable cookies, there’s a whole world of possibilities. Pair your Twix Thumbprint Cookies with a scoop of vanilla ice cream for a super indulgent dessert! For a more savory touch, try serving them alongside a cup of coffee or hot cocoa—heavenly!
Don’t forget presentation; arrange them on a decorative plate or tiered stand for a charming display, especially for gatherings or holidays. They’re perfect for cookie exchanges, birthdays, or even as party favors for guests to take home.
Variations & Substitutions
The beauty of the Twix Thumbprint Cookies lies in their versatility! Here are some fun flavor options to consider:
- Peanut Butter Delight: Swap out the caramel for creamy peanut butter and drizzle with dark chocolate.
- Nutty Twix: Fold in some finely chopped nuts like pecans or almonds into the dough for an added crunch.
- Seasonal Flavor: Add spices like cinnamon or nutmeg during the holidays, or swap out caramel for pumpkin spice during autumn.
- Gluten-Free: Use a 1:1 gluten-free flour blend instead of regular cake flour for a gluten-free option.
- Vegan Version: Substitute the butter with a plant-based alternative, use flax eggs, and choose dairy-free chocolate.
Nutrition & Storage Info
- Prep Time: 25 minutes
- Cook Time: 12 minutes
- Total Time: 37 minutes (plus cooling)
- Yield: Approximately 24 cookies
- Estimated Calories: 150 calories per cookie
Storage Instructions:
- Room Temperature: Keep in an airtight container for up to 4 days.
- Fridge: Can be refrigerated for up to a week.
- Freezer: Store in an airtight container for up to 3 months. Thaw them in the fridge overnight before serving.

FAQ Section
Can I use margarine instead of butter?
- Yes! Just be aware that it may alter the flavor slightly.
What happens if my cookies are too crumbly?
- They may be too dry, possibly from overmixing. Ensure you’re mixing just until combined and using the right flour measurement.
Can I use store-bought caramel sauce?
- Definitely! Just be careful not to overfill the thumbprints, as it may spill over.
How can I get a neater drizzle on top?
- Use a piping bag or a squeeze bottle for a cleaner drizzle of chocolate.
Is it possible to make these cookies ahead of time?
- Yes! You can prepare the dough, shape it into balls, and refrigerate them until ready to bake.
What if I have leftover melted chocolate?
- Pour it over fresh fruit like strawberries or bananas, or use it for dipping pretzels.
Are these good for freezing?
- Absolutely! Just ensure they’re completely cooled and stored in an airtight container.
Can I add nuts to the filling?
- Yes! Chopped pecans, peanuts, or almonds would add a nice crunch.
What’s the best way to soften butter quickly?
- Cut it into small cubes and let it sit out for about 15 minutes, or microwave it on a low setting for 10 seconds at a time until slightly softened.
How do I prevent the cookies from spreading too much?
- Ensure your dough is chilled before baking, and confirm your baking powder is fresh.
Conclusion
I hope these Twix Thumbprint Cookies bring as much joy to your baking adventure as they have to mine. They’re more than a delicious treat—they represent moments of comfort, family gatherings, and sweet indulgence. I invite you to try this recipe and fall in love with the unique blend of textures and flavors.
Don’t forget to share your feedback in the comments! I’d love to hear how your Twix Thumbprint Cookies turned out, or if you made any fun variations! If you enjoyed this recipe, be sure to check out my other cookie recipes on the blog, including classics like Red Velvet Crinkle Cookies and Chewy Oatmeal Chocolate Chip Cookies. Happy baking!
This marks your delicious journey into the world of Twix Thumbprint Cookies—may your kitchen be filled with sweetness and laughter!

Twix Thumbprint Cookies
Ingredients
Method
- Preheat your oven to 350°F (180°C) and line a cookie sheet with parchment paper.
- Cream together the softened butter and powdered sugar, then mix in the egg until creamy.
- Add the vanilla extract and mix thoroughly.
- In a separate bowl, whisk together the cake flour, baking powder, and salt. Gradually add this mix to the wet ingredients to form a very soft dough. Let it rest for 5 minutes.
- Portion the dough into tablespoon-sized balls and place them on the prepared sheet.
- Press down in the center of each ball to make a thumbprint.
- Bake for about 10-12 minutes until slightly golden and soft.
- While warm, deepen the thumbprint and fill with melted caramel.
- Drizzle melted chocolate over cookies once caramel has set.