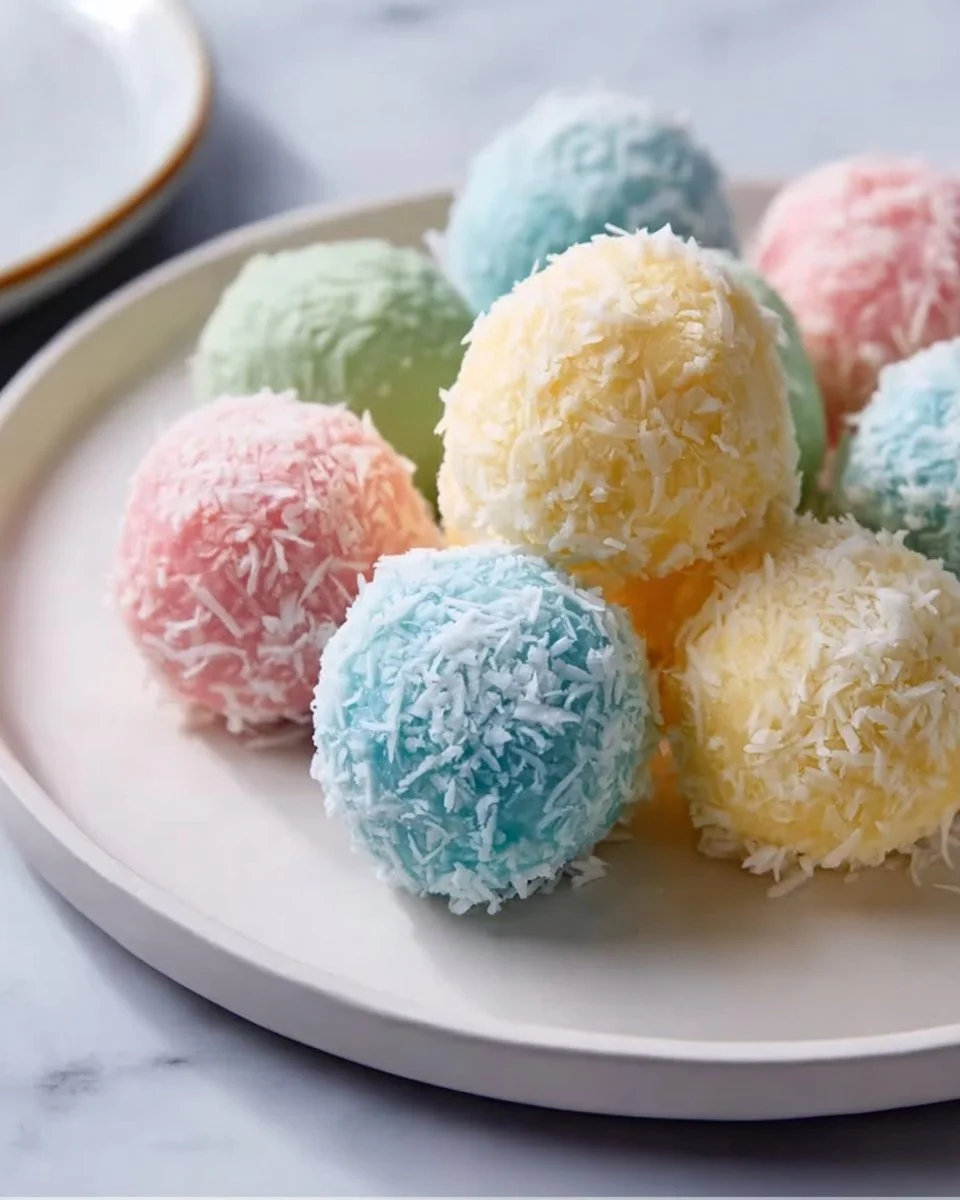
Adorable Easter Bunny Coconut Tails: The Sweet Treat That Brings Family Together
Ah, Easter! It’s that magical time of year when our homes are filled with the scent of blooming flowers and the promise of sweet treats. Growing up, my family had a delightful tradition of making sugary treats to celebrate the holiday, but one recipe that stood out was my grandmother’s Easter Bunny Coconut Tails. I can still picture the excited faces of my siblings as we gathered around the kitchen, eagerly rolling those deliciously chewy coconut balls dipped in smooth white chocolate.
These Easter Bunny Coconut Tails are not only a feast for the eyes but also a blast of coconut flavor that instantly brings back memories of family gatherings and laughter. What makes these treats truly special is their simplicity and the joy they bring to the table; every bite is reminiscent of warm, loving times spent with those we cherish.
And let me tell you, this recipe stands out among the rest because it’s not only incredibly easy but also allows for personalization. By the end of this post, you will learn how to create these adorable treats that are perfect for sharing, celebrating, or just enjoying as a sweet little luxury!
What Are Easter Bunny Coconut Tails?
Easter Bunny Coconut Tails are delightful little confections made with shredded coconut, sweetened condensed milk, and a drizzle of white chocolate. They conjure up images of fluffy bunny tails and oodles of fun, making them a perfect dessert for Easter celebrations or springtime festivities.
Originating from simple, classic coconut recipes, these treats offer a sweet and chewy texture complemented by a rich and creamy white chocolate coating. Unlike similar coconut recipes that can be overly sweet, the balance of ingredients in Easter Bunny Coconut Tails creates a harmonious blend of tropical flavor and chocolatey goodness.
You might wonder when the best time to whip up these treats is; honestly, any occasion will do! They’re perfect for Easter brunch, springtime picnics, or even as a sweet surprise for loved ones just because.
Why You’ll Love This Recipe
Simplicity: Not only is this recipe incredibly easy to follow, but it also requires minimal ingredients that you likely already have in your pantry. No need for complicated techniques here!
Cost-effective: Making your Easter Bunny Coconut Tails at home saves money compared to purchasing similar store-bought treats that often are more expensive and less delicious. A little homemade love goes a long way.
Customizable: Feel free to mix it up! Want to add a splash of almond extract or a few crushed nuts into your coconut mixture? Go for it! You can even swap out the decorations to match any festive occasion.
No baking required: That’s right! There’s no need to preheat the oven or worry about timing. Just mix, shape, freeze, and coat!
Quick to make: With just a few steps and about an hour, you’ll have a delightful platter of Easter Bunny Coconut Tails ready for all to enjoy.
If you’ve ever bitten into store-bought coconut confections, you know they can often be overly sweet with a texture that doesn’t quite satisfy. This homemade version combines just the right amount of sweetness with a rich texture, leaving you craving more.

Ingredients
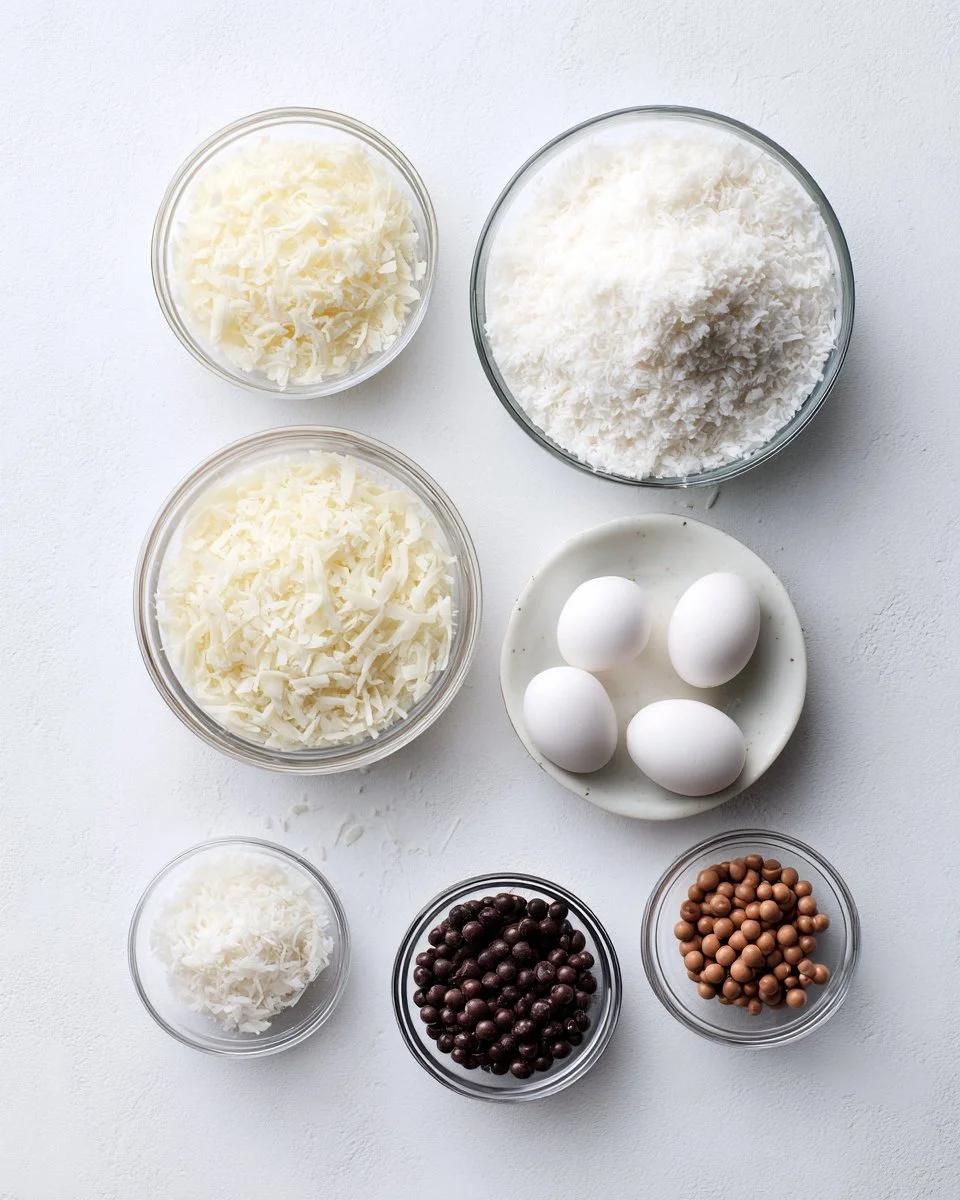
2 cups shredded coconut: Use unsweetened coconut for a more natural coconut flavor or sweetened for a more sugary treat. Brands like Bob’s Red Mill offer high-quality coconut.
1 cup sweetened condensed milk: This is the magic binding agent. I love using Eagle Brand, as they make the creamiest version.
1 teaspoon vanilla extract: Pure vanilla extract adds depth to the flavor; avoid imitation vanilla if you can for the best results.
1 cup white chocolate chips: Melting white chocolate can be tricky! I recommend Ghirardelli chips for that smooth, creamy finish.
1/4 cup powdered sugar: This helps to dust the finished product, adding a soft touch.
Candy eyes (for decoration): You can find these at craft stores or online; they are the key to giving your Bunny Tails personality!
Mini chocolate chips (for decoration): These will resemble chocolate "paw prints" on your creations.
Prep Notes: Make sure your sweetened condensed milk and any butter you might use (for melting the chocolate) are at room temperature for better mixing.
Step-by-Step Instructions
Mix the Base: In a large bowl, combine 2 cups of shredded coconut, 1 cup of sweetened condensed milk, and 1 teaspoon of vanilla extract. Stir until everything is well incorporated, and the coconut is evenly coated in the milk.
Chef’s Tip: Use your hands to mix if you want to ensure the coconut is nicely combined!
Shape the Balls: With your hands, shape the mixture into small balls, about the size of a tablespoon. Your hands might get a little sticky—don’t worry, it’s all part of the fun! Place these on a baking sheet lined with parchment paper.
Freeze: Pop the baking sheet into the freezer for about 30 minutes. This step is crucial as it helps the balls hold their shape during coating.
Melt Chocolate: While the coconut balls are freezing, melt 1 cup of white chocolate chips using a microwave or double boiler. If using a microwave, heat in 30-second increments, stirring between each until smooth.
Dip the Balls: Once the coconut balls are firm, remove them from the freezer. Dip each ball into the melted chocolate, ensuring they’re fully coated. I find it helpful to use a fork for this step to shake off any excess chocolate.
Set the Coating: Return the dipped balls to the baking sheet. Allow the chocolate to set at room temperature. If you’re in a hurry, pop them in the fridge for 10-15 minutes.
Decorate: Once the chocolate has hardened, use the remaining melted chocolate to attach candy eyes and mini chocolate chips. This is the fun part, so let your creativity shine!
Serve and Enjoy: Arrange these adorable Easter Bunny Coconut Tails on your dessert platter and watch them disappear in moments!
Expert Tips & Tricks
Storage: Store your Easter Bunny Coconut Tails in an airtight container at room temperature for up to 5 days. If you’re keeping them longer, refrigerate them to maintain freshness.
Make-ahead: You can prepare the coconut mixture a day in advance and shape the balls. Just remember to freeze before coating!
Troubleshooting: If your chocolate is too thick after melting, add a teaspoon of vegetable oil to thin it out for easier dipping. Keep an eye on your coconut balls; if they start to warm up too much while dipped, they may lose their shape.
Ingredient substitutions: If someone in your household doesn’t like coconut, use ground almonds or crushed graham crackers instead for a fun twist!
Serving Suggestions
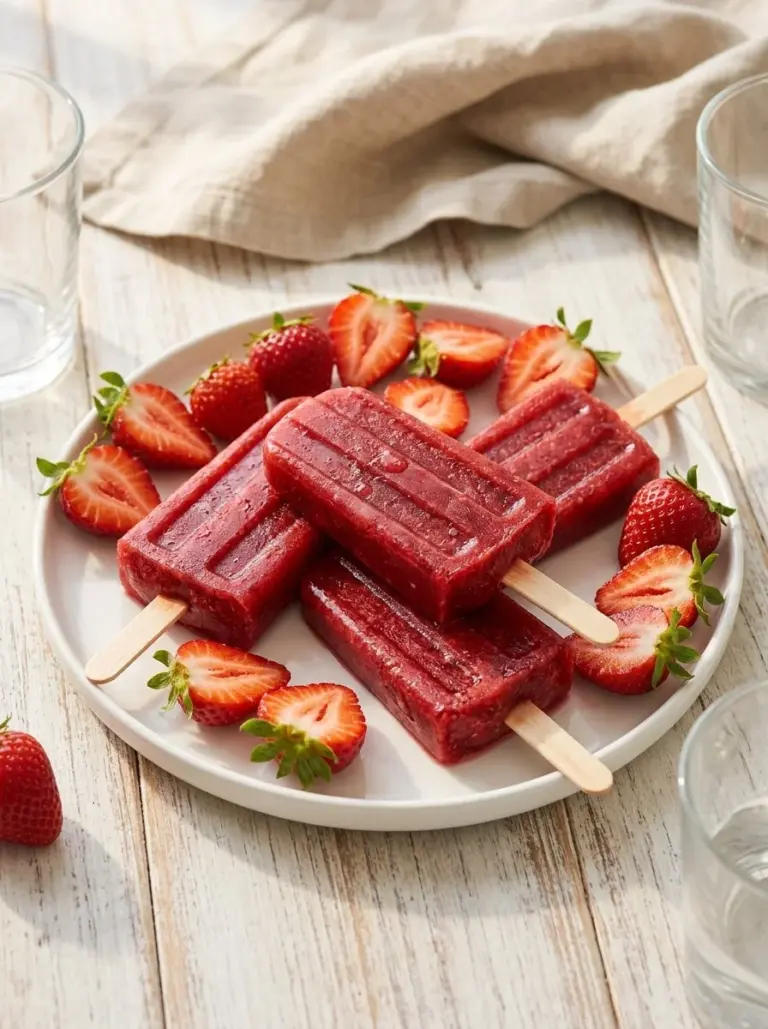
These Easter Bunny Coconut Tails are a fantastic stand-alone treat, but pairing them with fresh fruit like strawberries or raspberries adds a delightful contrast. Serve them on a whimsical Easter-themed platter alongside colorful cupcakes or other springtime treats.
Grab some colorful paper napkins or cute baskets to enhance the presentation. These little bunny tails are perfect for brunches, family gatherings, or Easter egg hunts!
Variations & Substitutions
Flavor Combinations: For a fruity twist, try adding a spoonful of lemon or orange zest to the coconut mixture. You can also create chocolate-dipped variations by replacing some of the white chocolate with dark chocolate.
Dietary Adaptations: Need to cater to specific dietary needs? Substitute the sweetened condensed milk with a plant-based version made of coconut milk, and you can use dairy-free chocolate chips for a vegan-friendly treat!
Seasonal Variations: Why stop at Easter? These little delights can be adapted for other holidays! For Halloween, try adding orange food coloring to the chocolate or decorate them like little ghosts using white chocolate and mini chocolate chips!
Nutrition & Storage Info
- Prep time: 20 minutes
- Cook time: 10 minutes (including melting chocolate)
- Total time: About an hour including freezing
- Yield: Makes around 20-25 coconut tails
- Estimated calories per serving: Approximately 100 calories (depends on size)
Storage instructions: Keep in an airtight container for up to 5 days at room temperature or refrigerate for up to 2 weeks. For longer storage, freeze for up to 2 months, then let sit at room temperature for a few minutes before serving.
FAQ Section
Can I use unsweetened coconut instead of sweetened?
Yes! Unsweetened coconut will work just as well; it may lessen the sweetness a bit, so consider adjusting the amount of sweetened condensed milk accordingly.How do I make these gluten-free?
All of the ingredients in this recipe are gluten-free; just ensure your chocolate chips are specifically labeled as gluten-free.What can I use instead of white chocolate?
Feel free to substitute with dark or milk chocolate; just be mindful of the melting temperatures as milk chocolate can burn more easily.Can these be made ahead of time?
Absolutely! You can prepare the coconut mixture and shape them a day in advance, just be sure to freeze them until you’re ready to dip in chocolate.How do I store leftovers?
Keep them in an airtight container at room temperature for up to 5 days or in the fridge for up to 2 weeks. For longer preservation, freeze them!What is the best way to melt chocolate?
Use a microwave at 30-second intervals, stirring often, or a double boiler for more controlled melting. Avoid overheating.Can I add nuts or other mix-ins?
Sure! Chopped almonds or crushed graham crackers make fantastic additions to the coconut mixture.What if the chocolate won’t dip?
If the chocolate is too thick, try adding a teaspoon of vegetable oil to help it reach a better consistency for dipping.Are there any vegan options?
Yes! Use vegan chocolate chips and plant-based sweetened condensed milk available at most grocery stores.What’s the best way to serve these?
Present them on a colorful platter, perhaps with fresh fruits or other desserts for a festive touch.
Conclusion
Easter Bunny Coconut Tails are not just adorable treats; they’re a reminder of the warmth and joy we find in sharing sweet moments with loved ones. Whether it’s a family gathering or a simple dessert night, these coconut delights are bound to steal the show.
I invite you to gather your family, try this delightful recipe together, and create sweet memories that will last a lifetime. Don’t forget to drop your comments and tell me how your Bunny Tails turned out! And if you enjoy these, be sure to check out my other festive recipes on the blog—happy baking!

Easter Bunny Coconut Tails
Ingredients
Method
- In a large bowl, combine the shredded coconut, sweetened condensed milk, and vanilla extract. Stir until well incorporated.
- Shape the mixture into small balls, about the size of a tablespoon, and place them on a baking sheet lined with parchment paper.
- Freeze the shaped balls for about 30 minutes.
- Melt the white chocolate chips in a microwave or double boiler until smooth.
- Dip each frozen coconut ball into the melted chocolate, ensuring they are fully coated.
- Return the dipped balls to the baking sheet to set. Optional: refrigerate until the chocolate is hardened.
- Once the chocolate coating is set, attach candy eyes and mini chocolate chips using the remaining melted chocolate.
- Serve on a decorative platter and enjoy!