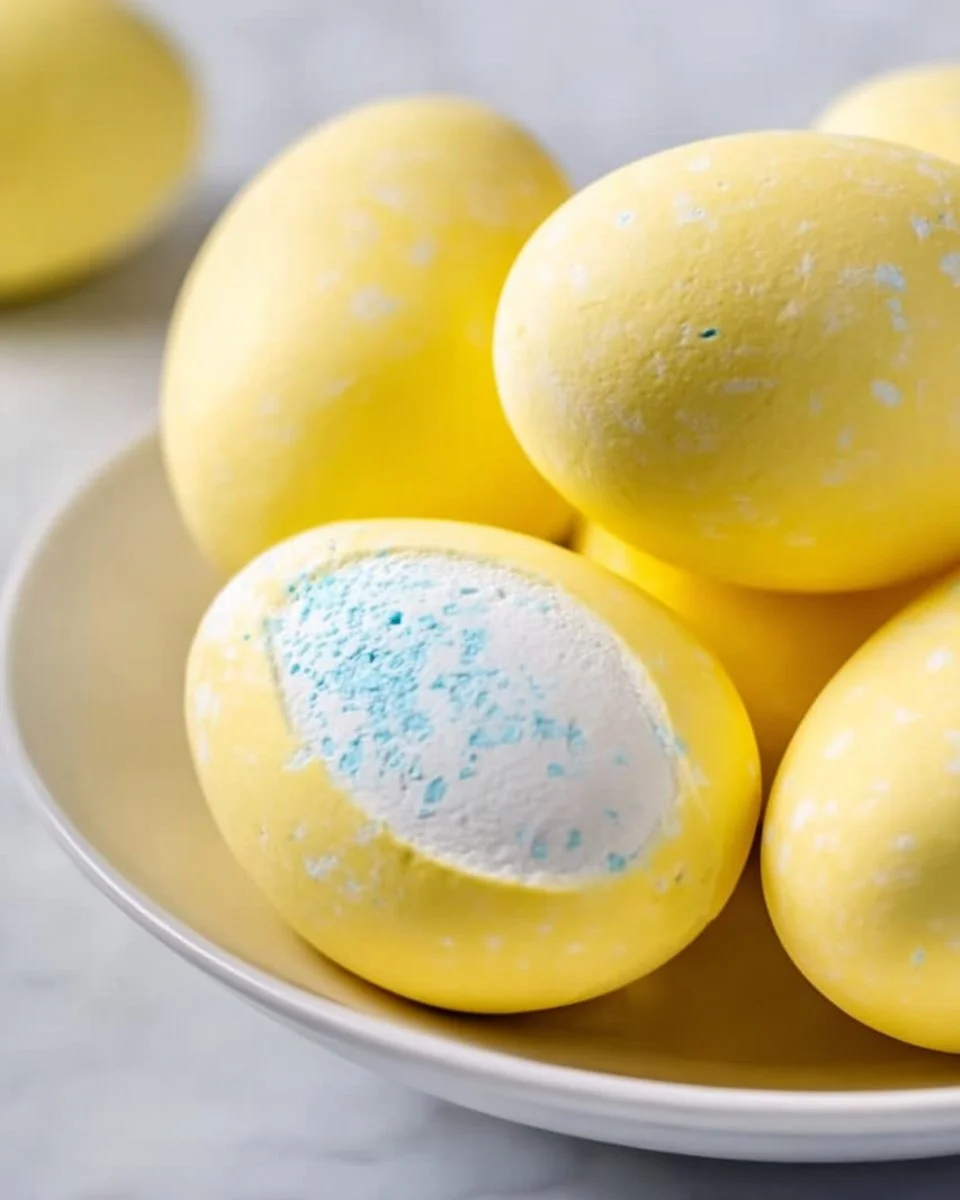
Delightful Marshmallow Easter Eggs: A Sweet Treat for Your Family Celebrations
INTRODUCTION
There’s something magical about Easter, isn’t there? As a child, I vividly remember waking up to the soft rustle of pastel-colored egg wrappers, the air sweetened with the scent of chocolate and marshmallows. Those moments spent hunting for treats hidden around the house are etched into my heart. One of my all-time favorites? Marshmallow Easter Eggs! Oh, how they would disappear so quickly among all my family’s festive sweets.
What makes these Marshmallow Easter Eggs so special is not just their pastel colors and delightful sweetness, but their sheer versatility. This recipe stands out because it’s easy to customize. Whether you’re craving a richer chocolate coating or want to whip up a batch with almond-flavored marshmallows, this recipe has you covered, bringing a unique flair to a beloved classic. Moreover, you’ll enjoy making them together as a family, turning the kitchen into a joyful hub filled with laughter and sugary treats.
Join me here, and I promise you’ll learn how to create these delectable Marshmallow Easter Eggs that are not only fun to make but are sure to become a cherished family recipe.
WHAT ARE Marshmallow Easter Eggs?
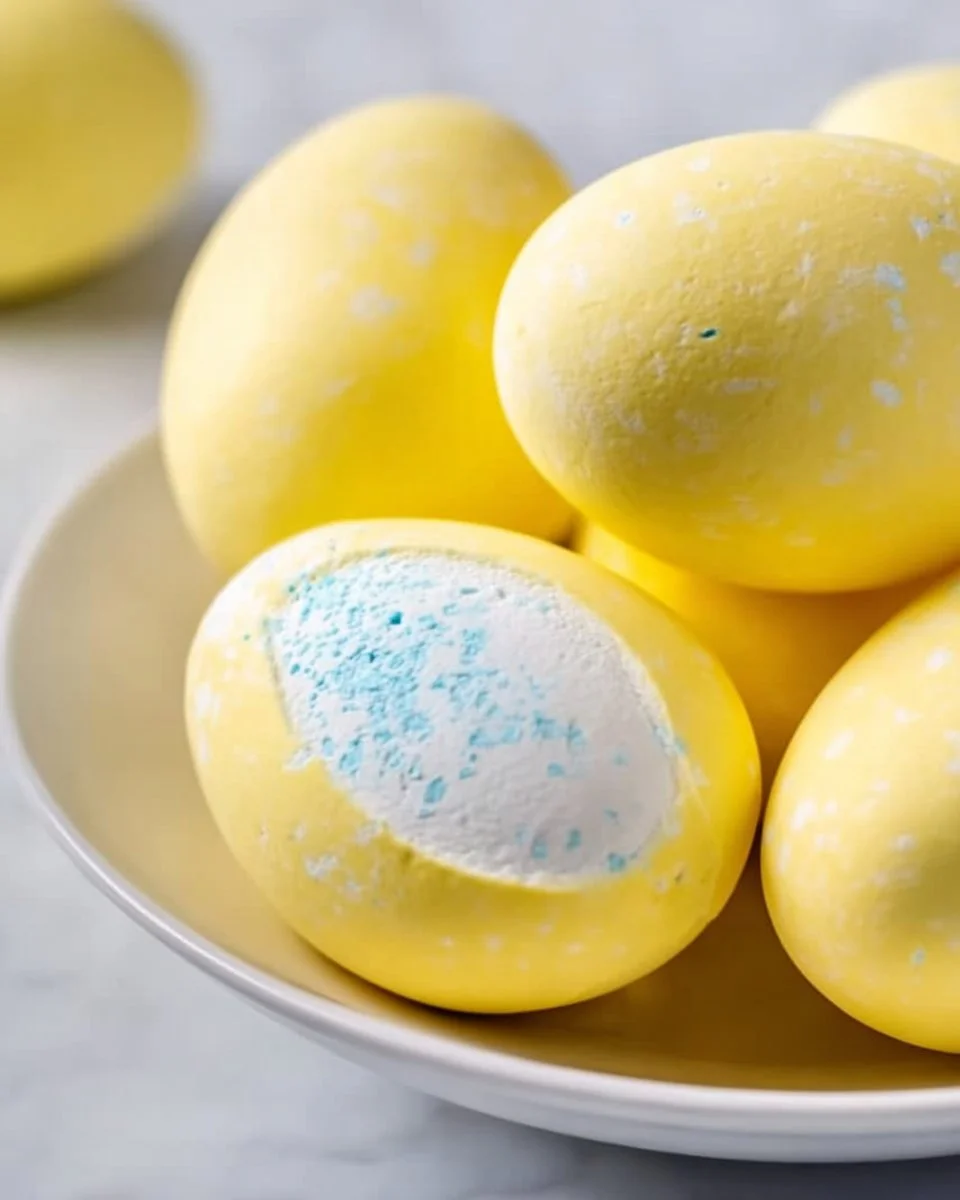
Marshmallow Easter Eggs date back to the early 20th century, with the first commercial candy versions popping up as early as 1917! These fluffy confections are essentially sweet, chewy marshmallow shaped into egg-like forms, often coated in chocolate and adorned with colorful sprinkles or candy decorations.
Their taste is an experience of contrasts—soft, sweet marshmallow gives way to a rich, velvety chocolate shell, creating a delightful chew that brings a smile to your face. The texture is also enchanting; you get that satisfying crunch from the crispy coating which beautifully complements the gooey interior.
These delightful treats are perfect for springtime celebrations or as personalized Easter gifts. Whether you’re crafting them for an egg hunt or sharing them with loved ones as a special surprise, Marshmallow Easter Eggs are sure to delight.
WHY YOU’LL LOVE THIS RECIPE
Customizable Fun: You can tailor these Marshmallow Easter Eggs to suit your family’s tastes. Want to add a hint of mint with some peppermint extract or create a vibrant mix of colors? Go for it!
Cost-Effective: This recipe is simple and budget-friendly. Compared to store-bought options, you can create dozens of delectable eggs for a fraction of the price, plus they’re made with love!
Nostalgic and Charming: Making these eggs is a delightful tradition that bridges generations. Remembering the laughter and excitement while crafting them with loved ones adds immeasurable value to the experience.
Quick and Easy: You don’t need to be a pastry chef to make these! With only a few steps and minimal equipment, they can come together in about an hour. Ideal for a fun weekend baking session!
Gift-Worthy: Wrap these beauties up in clear bags with colorful ribbons for gorgeous homemade treats that your friends and family will adore when you give them as gifts.
You’ll find that making these Marshmallow Easter Eggs is not only a fulfilling culinary endeavor but also a heartwarming memory in the making.
INGREDIENTS SECTION
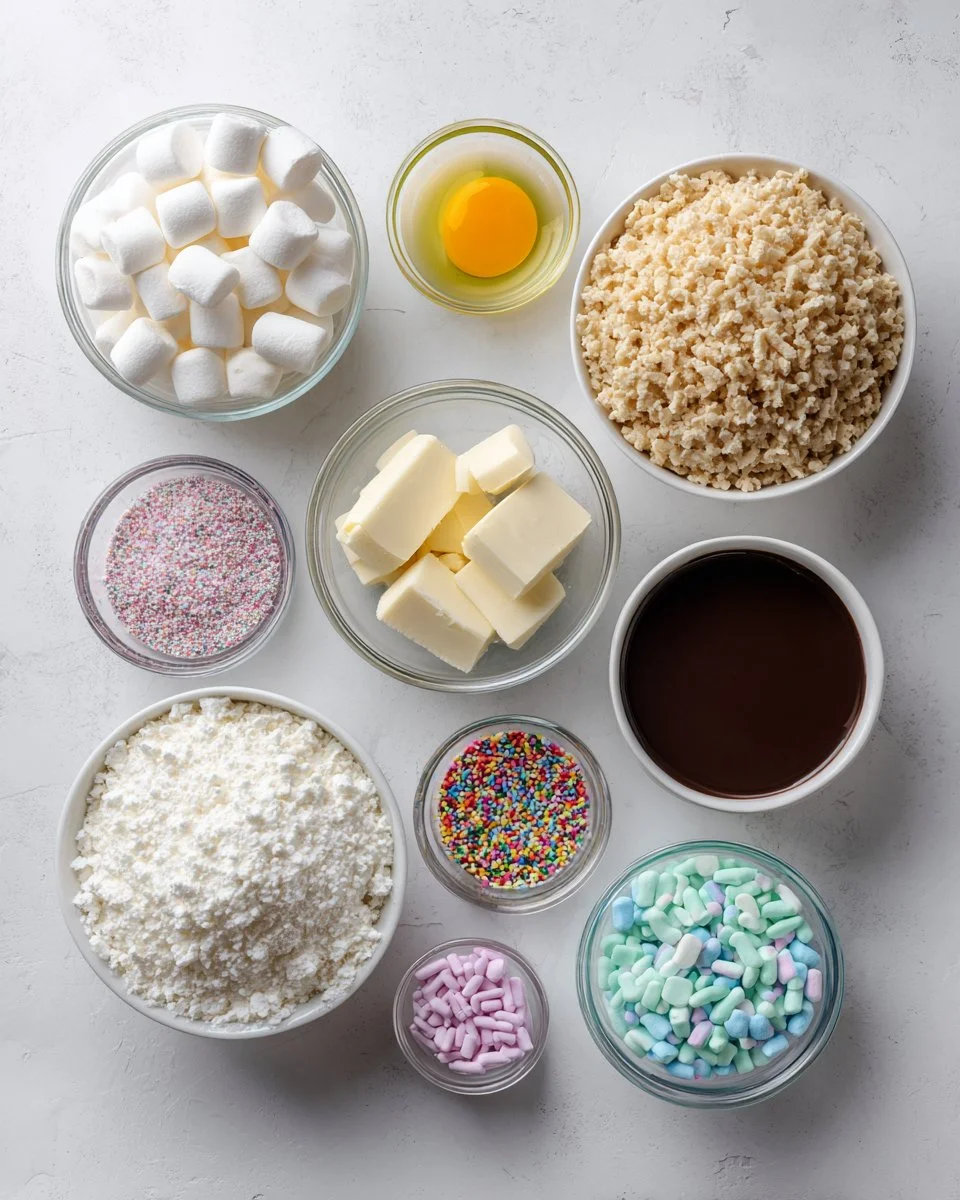
To make these delightful Marshmallow Easter Eggs, gather the following ingredients:
- 4 cups mini marshmallows (look for fresh, soft marshmallows—brands like Jet-Puffed work wonderfully)
- 3 tablespoons butter (unsalted, at room temperature for easy mixing)
- 1 teaspoon vanilla extract (pure vanilla extract will give you a richer flavor than artificial)
- 6 cups crispy rice cereal (choose a classic like Rice Krispies for that authentic texture)
- Pastel food coloring (gel colorings create vibrant, fun colors)
- Melted chocolate for coating (I recommend using high-quality chocolate like Ghirardelli or Callebaut for a smooth melt)
- Sprinkles for decoration (optional) (get creative with these! Use colorful nonpareils, or themed sprinkles to match your occasion)
Prep Notes:
- Ensure the butter is at room temperature for easy melting and mixing.
- You can substitute almond extract for a nutty twist or use gluten-free crispy rice cereal if needed.
STEP-BY-STEP INSTRUCTIONS
Melt the Base: In a large saucepan, melt the butter over low heat. Add the mini marshmallows, stirring continuously until completely melted and smooth. This should take about 4-5 minutes; look for the marshmallows to be glossy and have no lumps.
Chef’s Tip: Keep the heat low to prevent burning. Stir continuously for the best results!
Add Flavor: Remove from heat and stir in the vanilla extract, enhancing that sweet aroma that fills your kitchen.
Incorporate Cereal: Gradually add the crispy rice cereal into the marshmallow mixture, mixing until evenly coated. This should take about 2 minutes. You want each cereal piece to be fully covered in that dreamy marshmallow.
Color Fun: Divide the mixture into bowls—add a few drops of pastel food coloring to each, blending until the desired colors are achieved. Have fun with it—think pastel pinks, blues, and yellows!
Shape the Eggs: Let the mixture cool slightly (about 5 minutes), then shape it into egg shapes using your hands. Aim for a size similar to a real egg.
Cool Down: Place the formed eggs on a parchment-lined baking sheet and let them cool completely for around 15-20 minutes.
Chocolate Dip: Once cooled, dip the eggs in melted chocolate, shaking off any excess. If desired, sprinkle them with additional colorful decorations while the chocolate is still wet.
Set and Serve: Allow the chocolate coating to set before serving or gifting (about 30 minutes at room temperature should do the trick).
EXPERT TIPS & TRICKS
Storage: Store your Marshmallow Easter Eggs in an airtight container at room temperature for up to 5 days. The chocolate coating may soften, so keep them in a cool, dry place.
Make-Ahead: You can prepare these eggs one week in advance! Just keep them properly stored to maintain freshness.
Troubleshooting: If your chocolate isn’t melting smoothly, consider adding a tablespoon of coconut oil to help it blend better.
Temperature Control: Be cautious about overheating the chocolate. Melt it in short bursts—around 30-second intervals in the microwave, stirring in between.
For Sturdier Eggs: If making these in advance, you can slightly under-melt the marshmallows to create a firmer filling, allowing them to hold their shape better over time.
SERVING SUGGESTIONS
These Marshmallow Easter Eggs are delightful on their own, but pairing them with a cozy cup of hot chocolate or coffee would elevate your dessert spread. For a festive touch, consider arranging them in Easter baskets or on platters adorned with colorful spring flowers. They are not only great for Easter gatherings but also perfect for spring picnics, birthday parties, or as fun treats at any family gathering!
VARIATIONS & SUBSTITUTIONS
Flavor Combinations: Experiment with flavoring! Replace vanilla extract with almond, coconut, or even orange extract for a playful twist.
Dietary Restrictions: Need these to be allergy-friendly? Use dairy-free chocolate and gluten-free crisp cereal.
Seasonal Variations: For Halloween, shape them into pumpkin forms and use orange candy melts, or for Christmas, create festive colors like red and green.
NUTRITION & STORAGE INFO
- Prep Time: 15 minutes
- Cook Time: 10 minutes
- Total Time: 1 hour (including cooling)
- Yield: About 24 eggs
- Estimated Calories per Serving: Approximately 100 calories (1 egg)
- Storage: Keep in an airtight container at room temperature; lasts up to 5 days.
FAQ SECTION
Can I use regular marshmallows instead of mini ones?
- Yes, but you’ll need to cut them into smaller pieces for melting and mixing!
Is it necessary to use food coloring?
- Not at all! The eggs are delicious without coloring—they will still be festive and fun.
What can I substitute for crispy rice cereal?
- You can opt for puffed corn or even gluten-free alternatives!
Can I make these in advance?
- Absolutely! You can prepare them a week ahead and store them properly.
What if the chocolate doesn’t harden?
- Ensure you’re using temperate chocolate. If it remains sticky, place them in the fridge for a few minutes.
Can kids help with the process?
- This recipe is perfect for family fun! Kids can help with shaping the eggs and decorating.
What’s the best way to melt chocolate?
- Melting in the microwave in short intervals or using a double boiler are both great methods!
Can I add in other ingredients?
- Absolutely! Consider mixing in chopped nuts, dried fruit, or even crushed cookies.
Are these suitable for shipping?
- They can be mailed, but ensure they’re packaged securely to avoid melting during transit.
What’s the best way to decorate?
- Get creative! Use themed sprinkles, edible glitter, or drizzle contrasting chocolate over the top for flair.
CONCLUSION
These Marshmallow Easter Eggs embody the sweet joys and traditions of Easter celebrations! With their fun colors and delicious taste, this recipe offers a wonderful opportunity to create flavorful memories with your loved ones. I encourage you to give them a try—your family will appreciate the love that goes into each bite.
I’d love to hear how your eggs turn out, so please leave your thoughts in the comments below! Also, don’t forget to check out some of my related recipes for other delightful spring treats that will spark joy in your kitchen.