Table of Contents
Table of Contents
Fluffy Dreams: The Ultimate Japanese Cotton Cheesecake Recipe
There’s something undeniably magical about Japanese cotton cheesecake. This light and fluffy delight has a way of transforming any ordinary day into something special. I remember the first time I tasted one at a quaint little café in Tokyo, each bite melting like a cloud in my mouth. I was instantly hooked! Years later, I found myself trying to recreate that blissful experience in my own kitchen, and after countless attempts and plenty of giggles, I finally nailed it.
This Japanese cotton cheesecake stands apart from traditional cheesecakes; it’s airy, jiggly, and imbued with a hint of nostalgia. It brings back memories of family gatherings, where laughter mingled with the warm scent of baking, and the happiest moments were shared over creamy slices.
In this recipe, I’ll share my tried-and-true method for whipping up this delightful treat. You’ll discover why this version is a game-changer—it’s easier to make than you think and requires no fancy equipment. So, roll up your sleeves, and get ready to impress with a dessert that’s not only delicious but also a heartfelt connection to memories and comfort… just like a warm hug!
What Are Japanese Cotton Cheesecakes?
Japanese cotton cheesecake, or “soufflé cheesecake,” hails from Japan and is beloved for its unique texture. Imagine a fluffy cloud that tastes like a rich cheesecake—this is a dessert that defies simple categorization. It’s lighter than a traditional cheesecake, thanks to the whipped egg whites that help achieve its signature rise and delicate crumb.
The first time you sink your fork into this heavenly creation, the experience is buttery, creamy, and subtly sweet, with a melt-in-your-mouth quality that’s hard to forget. This dessert is perfect for any occasion, whether it’s a festive family gathering, an elegant brunch, or simply an indulgent treat for yourself after a long day.
And why make this cheesecake? Because it’s not just about taste; it’s about the joy of creating something beautiful and delicious in your own kitchen, sharing it with others, and savoring each soft, velvety slice together.
Why You’ll Love This Recipe
Unmatched Flavor and Texture: Store-bought cheesecakes simply can’t compete with the fresh, homemade taste of this Japanese cotton cheesecake. There’s something about the lightness and creaminess that envelops you in comfort with every bite.
Incredibly Cost-Effective: Making your own cheesecake at home is not only budget-friendly, but it also means you control the ingredient quality. With just a handful of pantry staples, you’re on your way to baking magic.
Customizable: This recipe serves as a fantastic base for all sorts of flavor variations! Think matcha, chocolate, or even a hint of citrus zest. You can let your creativity shine while still enjoying the classic version.
Easy for All Skill Levels: If you’re new to baking, don’t worry! This cotton cheesecake is easier to make than it looks. The key steps are straightforward, and I’ll guide you through them with tips and tricks that even beginner bakers can master.
Impressive Results: The wow factor of this dessert is off the charts. When you flip it out of the pan and reveal that pillowy, golden top, your friends and family will be amazed.
Bake along with me, and you’ll discover just how satisfying making this Japanese cotton cheesecake can be!

Ingredients Section
For the Japanese Cotton Cheesecake:
- 6 large eggs: Egg quality matters here. Go for organic, free-range eggs for the best flavor and color.
- 1 cup cream cheese (softened): Use full-fat cream cheese—brands like Philadelphia offer great texture and flavor.
- 1/2 cup milk: Whole milk is preferable, but 2% can work in a pinch.
- 1/4 cup unsalted butter (softened): Always use room temperature butter for a smooth batter.
- 1 cup granulated sugar: Regular white sugar helps to achieve that sweet fluffiness.
- 1/4 cup all-purpose flour: A light flour, such as cake flour, can give you an even fluffier result.
- 1/4 cup cornstarch: This ingredient contributes to the light, airy texture—don’t skip it!
- 1/2 teaspoon vanilla extract: Always opt for pure vanilla for the best taste.
- 1/4 teaspoon cream of tartar: Essential for stabilizing egg whites.
- Pinch of salt: Just a touch to enhance the overall flavor.
Prep Notes:
- Leave your cream cheese and butter out at room temperature for about 30 minutes before starting.
- Preheat your oven before mixing your ingredients for a smooth workflow.
Step-by-Step Instructions
Preheat your oven to 320°F (160°C). Grease and line a 9-inch round cake pan with parchment paper; this will prevent sticking and give you a beautiful finish.
Melt Ingredients: In a saucepan over low heat, melt the cream cheese, butter, and milk together until smooth and creamy. Remove from heat and let it cool slightly for about 5 minutes.
Eggs: Separate the egg yolks and whites. In a large bowl, stir the egg yolks into the cream cheese mixture until well combined. Add in the vanilla extract for that fragrant touch.
Dry Ingredients: Sift in the flour and cornstarch. Mix gently until just combined; overmixing can affect the lightness of the final product.
Egg Whites: In a separate bowl, beat the egg whites with cream of tartar and a pinch of salt until soft peaks form. Gradually add the sugar while continue to beat until stiff peaks form. This step is crucial for achieving the perfect fluffiness.
Combine: Carefully fold the beaten egg whites into the cream cheese mixture in three parts. Use a gentle hand; you want to keep as much air in your batter as possible.
Prepare to Bake: Pour the batter into the prepared pan and smooth the top with a spatula. Place the cake pan in a larger baking dish filled with about an inch of hot water (this water bath helps create a humid environment for even baking).
Baking Time: Bake for approximately 60-70 minutes. The cheesecake should be golden brown but slightly jiggly in the middle when done. This visual cue is important, so keep an eye on it as it approaches the end of the baking time.
Cool Down: Once baked, turn off the oven and leave the cheesecake inside with the door ajar for 30 minutes to prevent cracking. Then transfer it to a cooling rack to cool to room temperature.
Refrigerate: For the best results, refrigerate your cheesecake for at least 4 hours or, ideally, overnight before serving. This allows the flavors to meld and the texture to fully set.
Enjoy your fluffy and jiggly Japanese cotton cheesecake!
Expert Tips & Tricks
Perfect Your Egg Whites: Make sure your mixing bowls are squeaky clean and free from any grease, which can prevent egg whites from whipping properly.
Don’t Rush the Folding: When combining the egg whites with the cream cheese mix, be gentle! A rubber spatula works best to cut through the batter and then fold it over, being careful not to deflate your fluffy whites.
Storage: Keep leftovers in the fridge, wrapped tightly with plastic wrap or in an airtight container. It can last up to 3 days in the fridge, or you can freeze it for up to a month!
Make Ahead: This cheesecake is perfect for making ahead of time. Bake it a day in advance, and let it chill overnight. It will be just right when you’re ready to serve.
Common Mistakes to Avoid: Ensure all ingredients are at room temperature—this helps with smooth blending. Also, don’t skip the water bath; it’s vital for that perfect texture.
Serving Suggestions
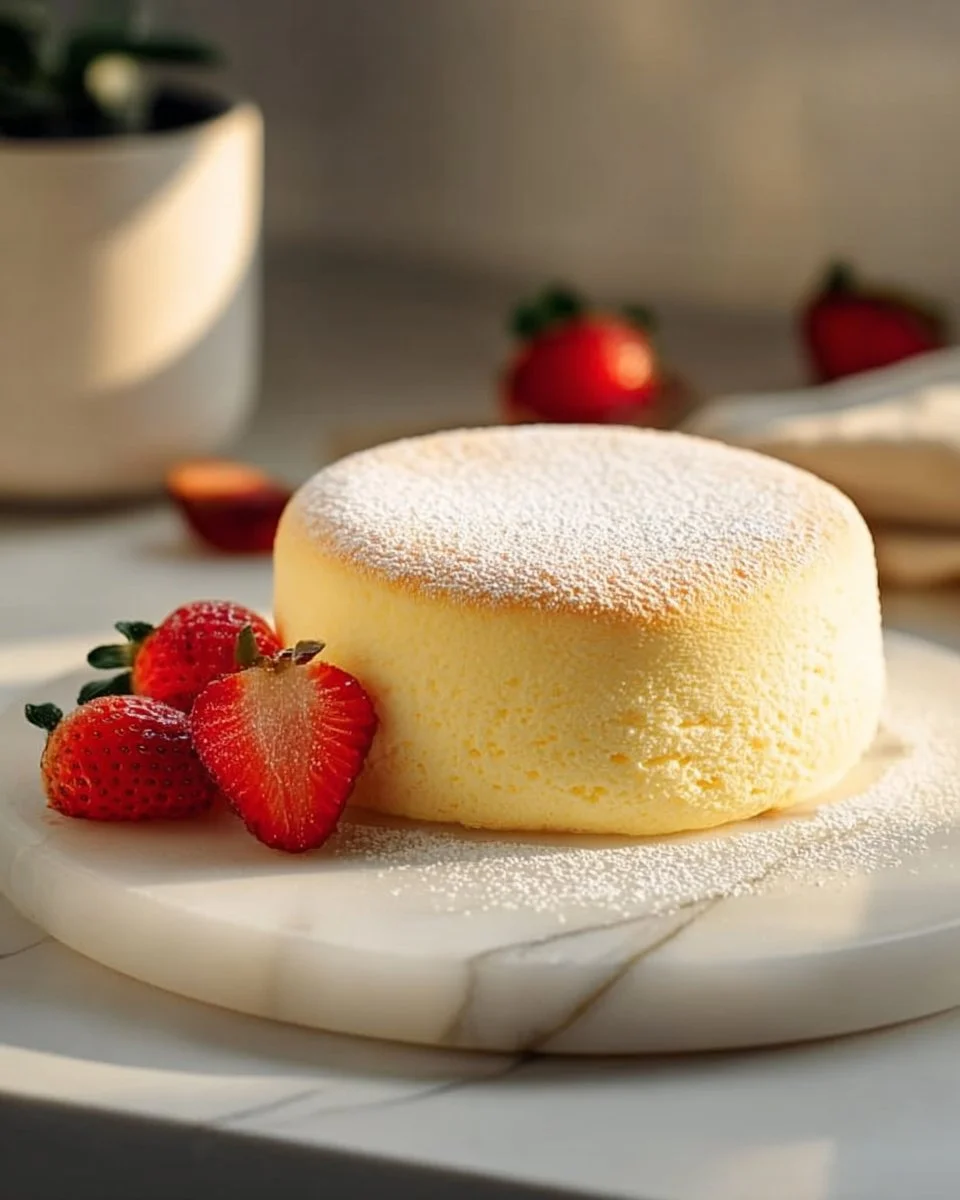
To elevate your Japanese cotton cheesecake experience, pair it with fresh fruits like strawberries or berries for a pop of color and freshness. A small dollop of whipped cream wouldn’t hurt either! For a special occasion, drizzle a bit of chocolate or matcha sauce over the top for added flair.
This cheesecake is perfect for birthdays, tea parties, or anniversaries—any occasion where you want to impress your guests!
Variations & Substitutions
Flavor Variations: Incorporate matcha powder for a Japanese twist, or blend in some espresso powder for a coffee-infused delight. A sprinkle of citrus zest does wonders too!
Gluten-Free Option: Swap out all-purpose flour with a gluten-free blend, ensuring you check for a suitable cornstarch substitute if necessary.
Dietary Adaptations: For a dairy-free version, you could use plant-based cream cheese and a non-dairy milk alternative. However, the texture might vary slightly.
Seasonal Variations: Celebrate the seasons with pumpkin spice in the fall or crushed peppermint candy during the holidays.
Nutrition & Storage Info
- Prep Time: 20 minutes
- Cook Time: 60-70 minutes
- Total Time: Approximately 4 hours (including cooling time)
- Yield: 8-10 servings
- Estimated Calories per Serving: 215 calories
- Storage Instructions: Keep in the fridge for up to 3 days or freeze for up to a month.

FAQ Section
Can I make Japanese cotton cheesecake without a water bath?
- While it’s not impossible, skipping the water bath can lead to uneven baking and might result in cracks. I highly recommend using one for the best results.
Why does my cake crack?
- Cracking can occur if the cheesecake is baked at too high of a temperature or if it cools down too quickly. Following the cooling instructions carefully will help prevent this.
What can I use if I don’t have cream of tartar?
- You can use lemon juice or white vinegar as a substitute. Use about 1 teaspoon for every 1/4 teaspoon of cream of tartar needed.
Can I double the recipe?
- Yes! Just make sure to use a larger cake pan or divide the batter into two pans for even baking.
How can I tell when it’s done?
- A perfectly baked Japanese cotton cheesecake should be golden brown on top, slightly jiggly in the center, and will have risen beautifully.
Does it need to be refrigerated?
- Yes, to set properly and enhance the flavors, it should chill in the fridge for at least 4 hours or overnight before serving.
Can I use a different type of cheese?
- For best results, stick with cream cheese. Other cheeses may soften the texture and alter the flavor.
What if my cheesecake is too dense?
- Ensure you’re folding in the egg whites gently, as overmixing can deflate them and reduce lightness.
Can I bake this in a different shape of pan?
- Absolutely! Just adjust your baking time as necessary, since pan sizes can impact cooking times.
What’s the best way to store leftovers?
- Wrap tightly in plastic wrap or use an airtight container. This keeps it moist and fresh.
Conclusion
This Japanese cotton cheesecake recipe holds a special place in my baking heart. Its lightness and creamy bliss make it a must-try for anyone seeking comfort in dessert. I encourage you to don that apron, dive in, and experience the joy of creating this delicious treat yourself. I’d love to hear your thoughts—did it become a family favorite?
Also, be sure to check out my other delightful recipes on the blog, like my classic chocolate cake or flavorful matcha roll—a perfect match for your newfound cheesecakes! Happy baking!
Graving More Recipes?
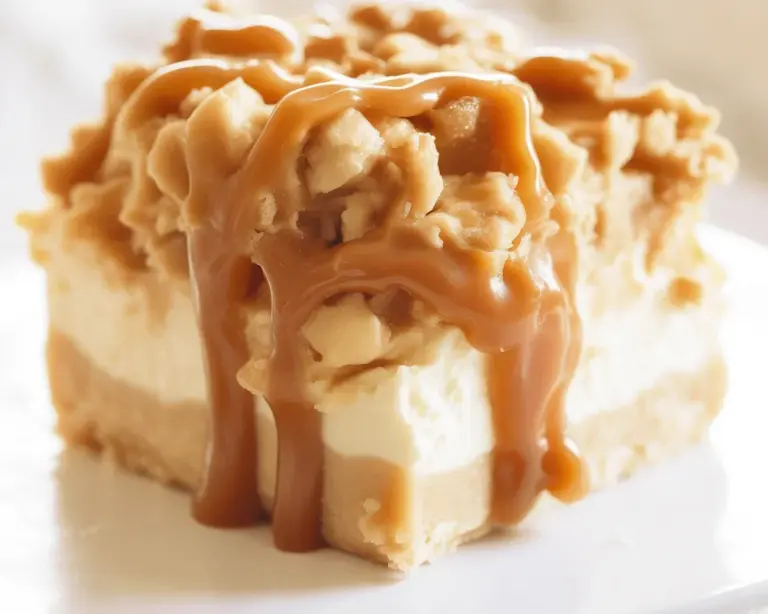
- Best 10 Cheesecake Recipes That Will Delight Every Sweet Tooth
- No-Bake Cheesecake
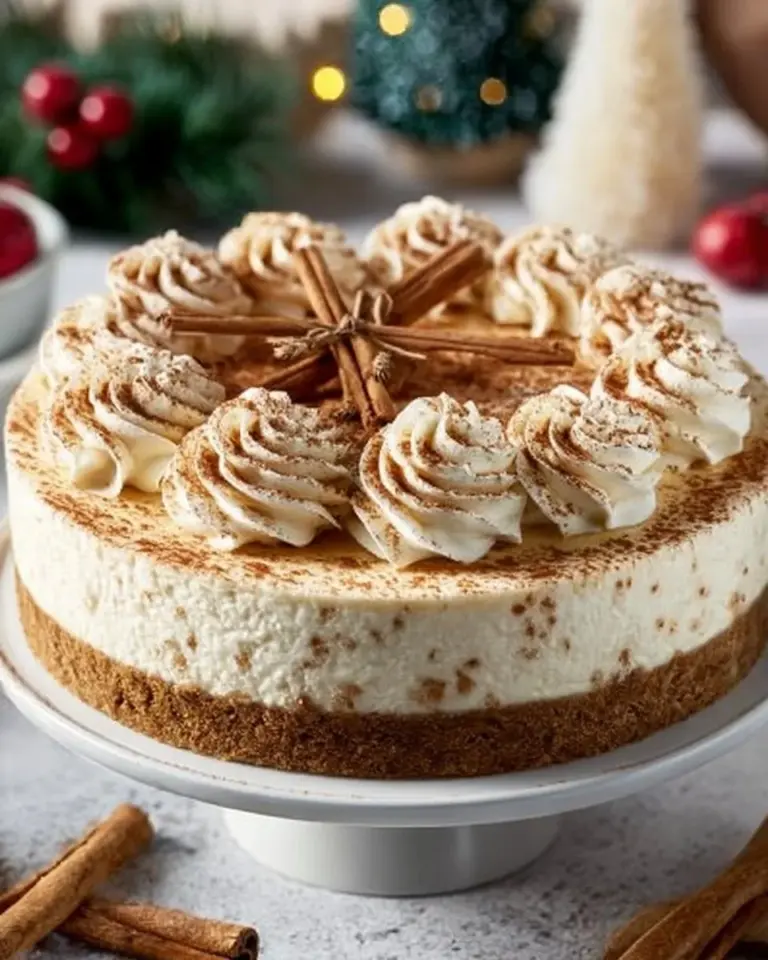
- Christmas Red Velvet Cheesecake
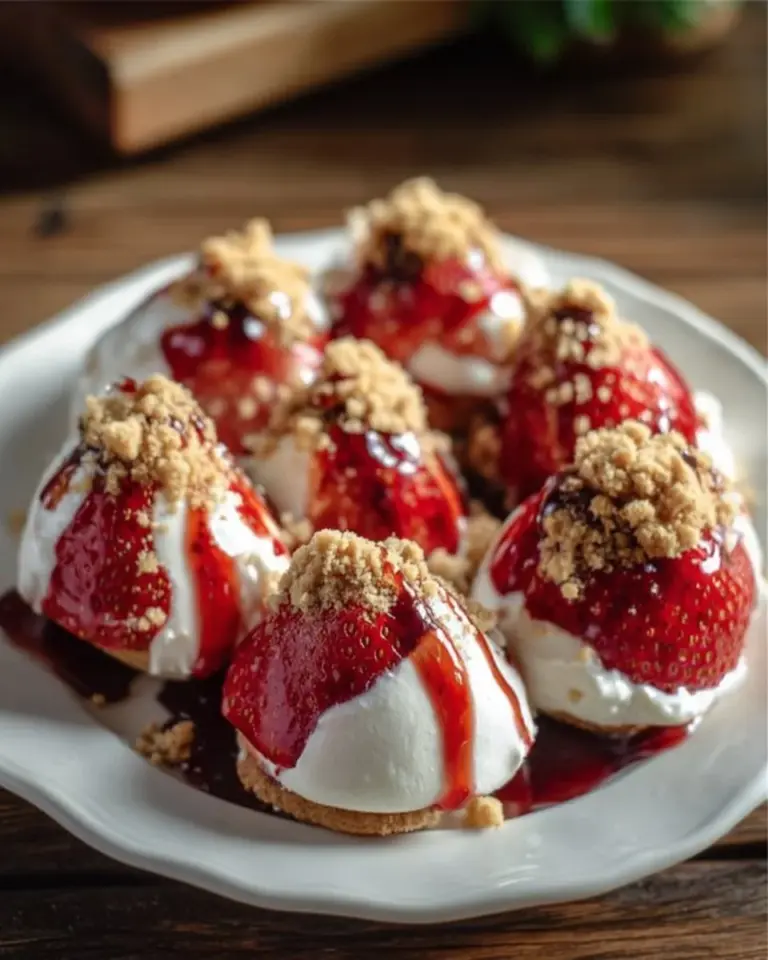
- No-Bake Christmas Cheesecake Bites
- Grinch Mini Cheesecakes
- Chocolate Chip Cookie Dough Cheesecake
Japanese Cotton Cheesecake
Ingredients
Method
- Preheat your oven to 320°F (160°C). Grease and line a 9-inch round cake pan with parchment paper.
- In a saucepan over low heat, melt the cream cheese, butter, and milk together until smooth and creamy. Remove from heat and let it cool slightly for about 5 minutes.
- Separate the egg yolks and whites. In a large bowl, stir the egg yolks into the cream cheese mixture until well combined. Add in the vanilla extract.
- Sift in the flour and cornstarch. Mix gently until just combined to maintain the lightness.
- In a separate bowl, beat the egg whites with cream of tartar and a pinch of salt until soft peaks form. Gradually add sugar and continue beating until stiff peaks form.
- Carefully fold the egg whites into the cream cheese mixture in three parts, maintaining as much air in the batter as possible.
- Pour the batter into the prepared pan and smooth the top. Place the cake pan in a larger baking dish filled with an inch of hot water.
- Bake for 60-70 minutes until golden brown but slightly jiggly in the middle.
- Once baked, turn off the oven and leave the cheesecake inside with the door ajar for 30 minutes.
- Transfer to a cooling rack to cool to room temperature and refrigerate for at least 4 hours or ideally overnight before serving.