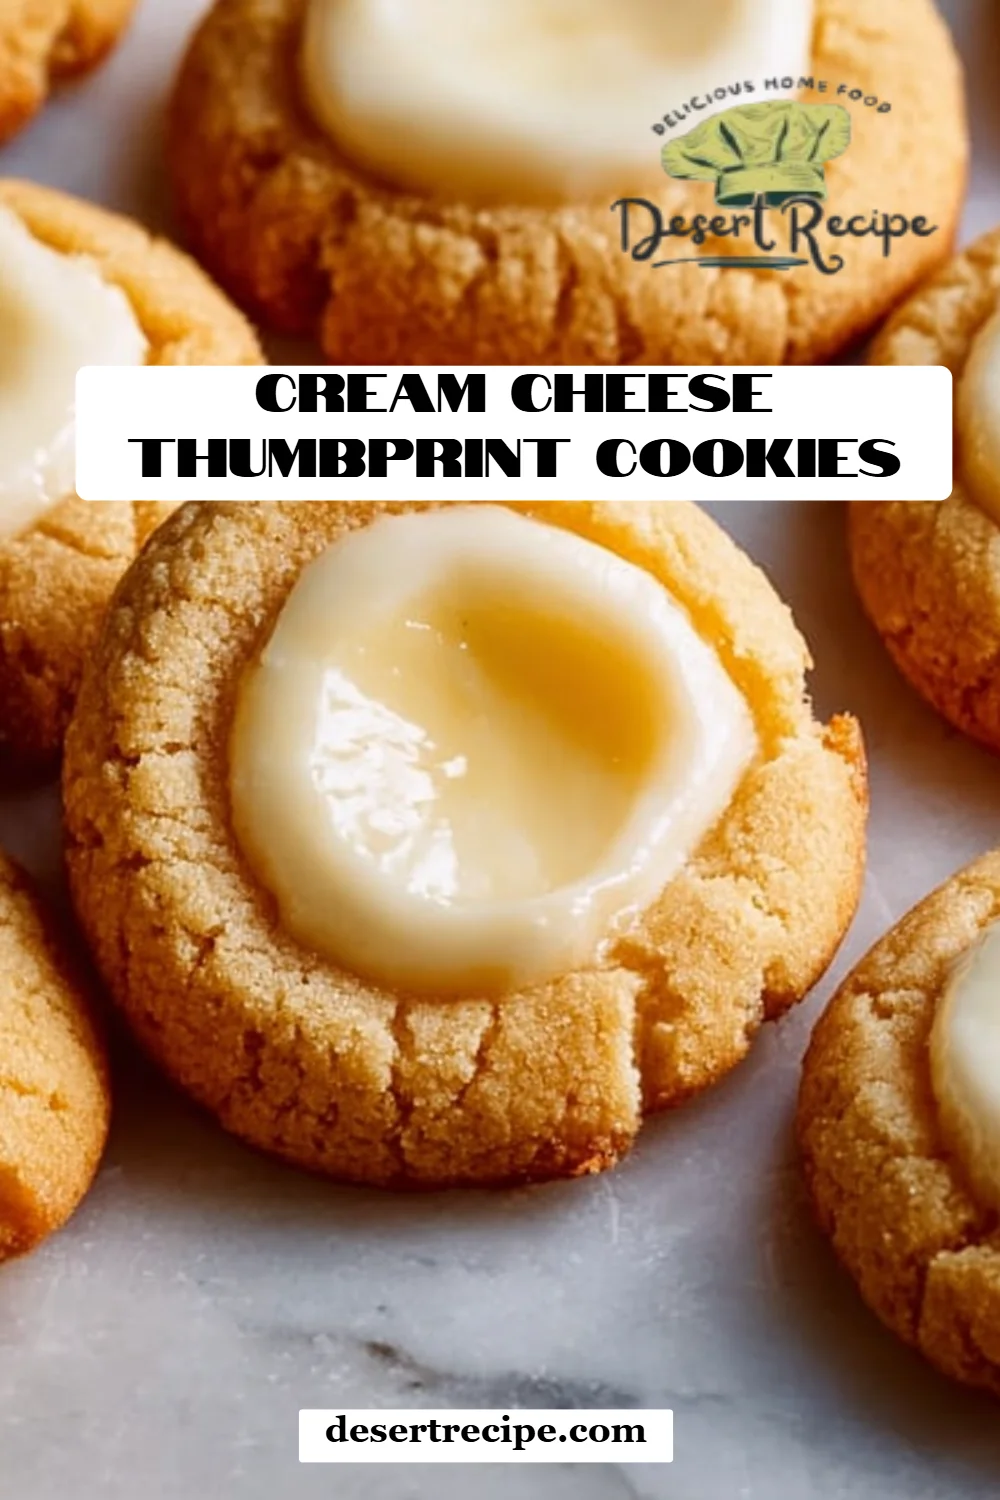
Cream Cheese Thumbprint Cookies: A Delicious Twist on a Classic Treat
There’s something inexplicably magical about the smell of freshly baked cookies wafting through the house, isn’t there? For me, it conjures up memories of long, laughter-filled afternoons spent in my grandma’s cozy kitchen, where the real secret ingredient was always love. One of our favorites? Cream Cheese Thumbprint Cookies! What makes these little gems so special is not just their melt-in-your-mouth texture, but the lovely burst of fruit jam hidden in their center.
I remember the first time we made them together; I was absolutely smitten by the creamy richness balanced perfectly with a tart jam. Unlike traditional thumbprints that can be too dry or overly sweet, these cookies bring a tender, rich bite thanks to the cream cheese. Trust me, this recipe is better than any store-bought version you’ve tried—it’s quick, easy, and brimming with nostalgia!
Get ready to learn how to whip up a batch of these delightful Cream Cheese Thumbprint Cookies that will not only satisfy your sweet tooth but also bring a touch of warmth and comfort during times of celebration or simply a rainy afternoon. I can’t wait to share my tips and secrets to ensure yours turn out perfectly every time!
What Are Cream Cheese Thumbprint Cookies?
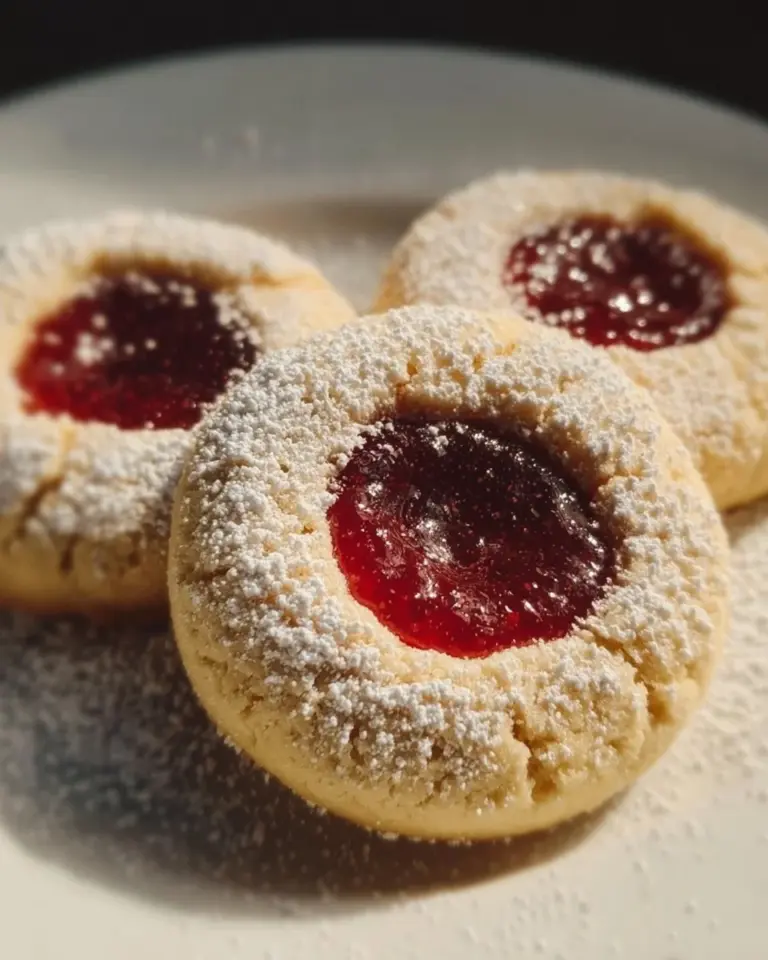
Cream Cheese Thumbprint Cookies, as the name suggests, are delightful little cookies characterized by their thumbprint indentation filled with sweet jam or jelly. These delicious treats have origins rooted in traditional baking and gain their unique texture from the inclusion of cream cheese in the dough.
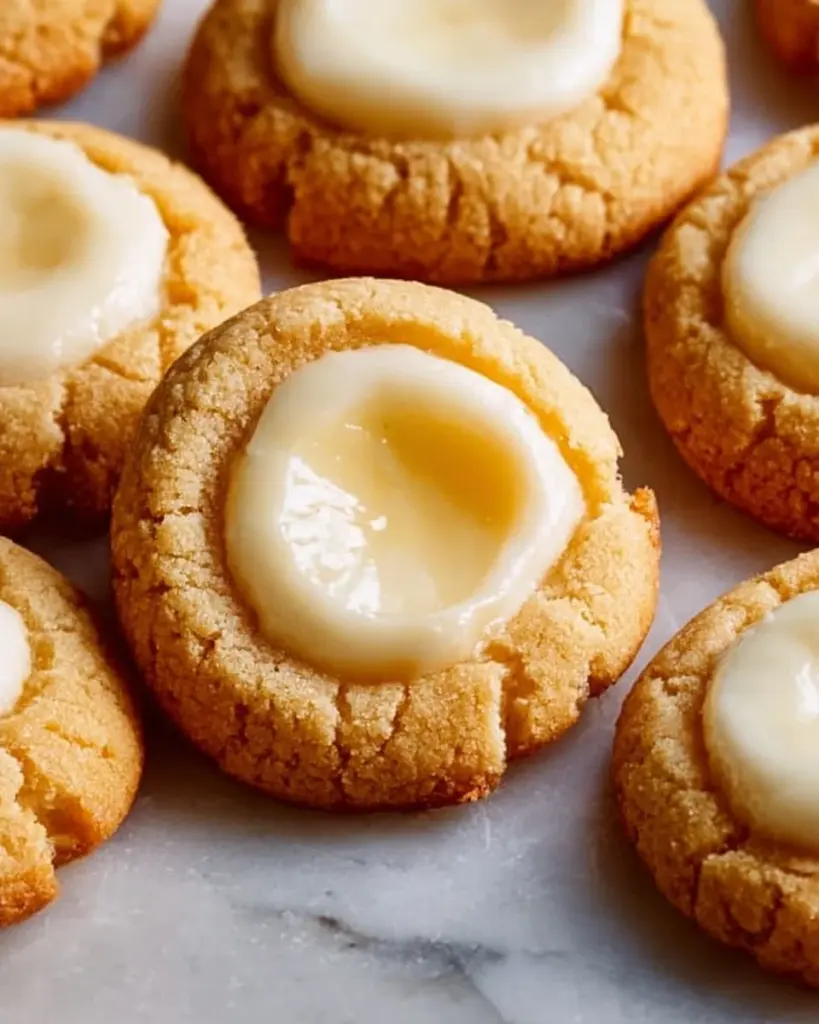
The result? A melt-in-your-mouth delight that strikes a perfect balance between being soft and slightly chewy, with a pleasant tanginess from the cream cheese. When baked, the edges turn a light golden brown, and the jam filling bubbles slightly, creating a charming contrast both in flavor and texture.
These cookies are perfect for any occasion, whether you’re celebrating a holiday, throwing a cookie exchange party, or simply looking for a comforting treat at home. They are not just cookies; they are a vessel for sweet memories shared with family and friends.
Why You’ll Love This Recipe
If you’re anything like me, you appreciate a few extra reasons to add a new recipe to your baking repertoire. Here’s why this Cream Cheese Thumbprint Cookies recipe is sure to become a staple in your kitchen:
Impressive Flavor/Texture: With the blend of cream cheese and butter, these cookies provide a softness that’s simply incomparable. Unlike many store-bought cookies that can be dry and lacking flavor, every bite of these contains a rich, buttery taste complemented by fruity jam.
Customization Galore: Choose any jam or jelly you love! Whether you prefer classic raspberry, zesty lemon, or even something seasonal like pumpkin spice, the options are endless. Mix and match fillings based on your mood or the season.
Budget-Friendly: All the ingredients are simple and cost-effective, ensuring you can make a generous batch without breaking the bank. Plus, why go out for a cookie when you can whip up a batch in no time?
Quick and Easy: With a prep time of just 15 minutes and a baking time of around 15-18 minutes, you can bake up a storm in no time! Plus, the skill level is manageable for everyone—from beginners to seasoned bakers.
Memory-Making: Baking these cookies is not just about the end product—it’s about the process. It can be a great family activity or a relaxing way to spend a Sunday afternoon alone.
Ingredients
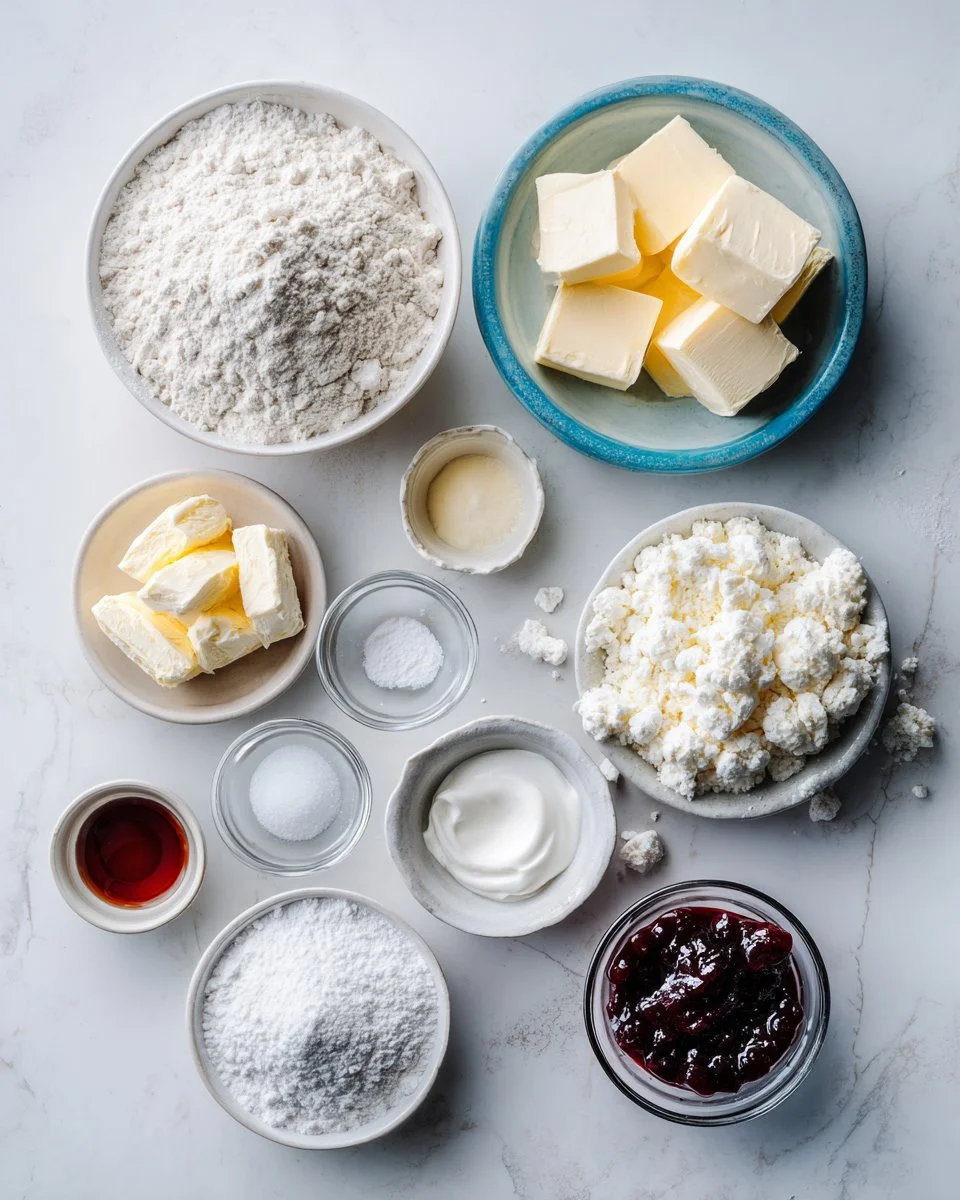
Here’s what you’ll need for these delightful Cream Cheese Thumbprint Cookies. Remember, quality ingredients make a difference, so where possible, select the best!
2 cups all-purpose flour
- Tip: A high-quality brand like King Arthur Flour will yield great results.
1/2 cup unsalted butter, softened
- Note: Ensure the butter is at room temperature for easy creaming.
8 oz cream cheese, softened
- Tip: Full-fat cream cheese provides the best richness and flavor.
1 cup granulated sugar
- Note: The sugar adds a lovely sweetness that balances the cream cheese’s tang.
1 teaspoon vanilla extract
- Recommendation: Use pure vanilla extract for an authentic flavor.
1/4 teaspoon salt
- Tip: Don’t skip this, as salt enhances the overall flavor of the cookies.
Jam or jelly for filling (your choice)
- Personalize as you wish! Think about flavors like strawberry, apricot, or blueberry.
Icing for decoration (optional)
- A simple glaze of powdered sugar and milk can add a lovely touch!
Prep Notes: Remember to take out your butter and cream cheese an hour before baking so they soften to room temperature. Trust me, this step is key for that perfect, creamy dough.
Step-by-Step Instructions
Now, let’s get to the fun part—baking these incredibly scrumptious cookies!
Preheat the oven to 350°F (175°C).
- Tip: Make sure it’s fully heated before putting your cookies in for the best rise.
In a mixing bowl, cream the softened butter and cream cheese until smooth.
- Chef’s Tip: This should take about 2-3 minutes with an electric mixer on medium speed. You want a light and fluffy texture.
Add the granulated sugar, vanilla extract, and salt; mix until well combined.
- Visual Cue: The mix should look creamy and slightly fluffy at this stage.
Gradually add the all-purpose flour and mix until a soft dough forms.
- Common Mistake to Avoid: Don’t overmix; stop once the flour is just incorporated.
Roll the dough into balls (about 1 inch in diameter) and place them on a baking sheet lined with parchment paper.
- Professional Tip: Use a small cookie scoop for uniform sizes.
Use your thumb to create an indent in the center of each ball.
- Chef’s Tip: If the dough is sticky, lightly flour your thumb.
Fill each indent with jam or jelly of your choice.
- Note: Don’t overfill; just a teaspoon is perfect to avoid leaks.
Bake for 15-18 minutes or until edges are lightly golden.
- Visual Cue: Keep an eye for the golden edges!
Let cool completely and drizzle with icing if desired.
- Presentation Tip: Drizzle icing in a fun zig-zag pattern for flair.

Expert Tips & Tricks
Elevate your baking game with these pro tips for Cream Cheese Thumbprint Cookies:
Chill the dough: If the dough becomes too soft to work with, refrigerate it for 30 minutes before rolling into balls.
Storage Solutions: Keep baked cookies in an airtight container at room temperature for up to one week or freeze for later use.
Make-ahead options: You can prepare the dough in advance, roll it into balls, and freeze them. Just add a few extra minutes to the baking time when you’re ready to bake.
Avoiding cracks: If your cookies crack while baking, that simply means the dough was overmixed. Embrace that tender crumb!
Flavor Boost: Feel free to add finely grated lemon zest or almond extract for an extra flavor boost.
Quick Fix for Dry Cookies: If they turn out a bit too dry, a quick dunk in warm tea or coffee before enjoying can help!
Serving Suggestions
These charming Cream Cheese Thumbprint Cookies shine best when accompanied by a cozy mug of tea or a rich cup of coffee. Perfect for afternoon tea-time or as a sweet treat during holiday gatherings. For presentation, stack them in a decorative tin and sprinkle with powdered sugar for that extra touch of elegance.
Variations & Substitutions
Get creative with your Cream Cheese Thumbprint Cookies! Here are some ideas:
Flavor Combinations: Swap the vanilla extract for almond extract or mix in spices like cinnamon or nutmeg for a warm twist.
Dietary Adaptations: Feel free to make these gluten-free by using a gluten-free flour blend. You can also use dairy-free cream cheese and butter for a vegan version.
Seasonal Variations: For fall, try filling them with pumpkin butter or apple jam, and during the holidays, consider cranberry or peppermint-flavored jams.
Nutrition & Storage Info
- Prep Time: 15 minutes
- Cook Time: 15-18 minutes
- Total Time: Approximately 35 minutes
- Yield: About 24 cookies (depending on size)
- Estimated Calories per Serving: 120 calories
- Storage: Keep at room temperature for up to a week, or freeze for up to 3 months.
FAQ Section
Can I use low-fat cream cheese?
- Yes, though it may result in a slightly less rich flavor and texture.
What can I substitute for the jam?
- Nut butters or chocolate ganache work wonderfully for a different spin.
Why did my cookies spread too much?
- This could occur if the butter was too warm. Ensure your butter is just softened, not melted.
Can I double the recipe?
- Absolutely, just ensure you have enough mixing space!
What’s the best way to freeze these cookies?
- Freeze in a single layer on a baking sheet, then transfer to an airtight container once solid.
How do I prevent the cookies from sticking to the pan?
- Use parchment paper or a silicone baking mat to prevent sticking.
What’s a good way to decorate these cookies?
- A simple icing made of powdered sugar and milk drizzled on top makes them pop!
Why did my cookies crack while baking?
- Overmixing the dough can cause cracks. Mix just until combined.
Can I make the dough in advance?
- Yes! You can store it in the fridge for up to 24 hours or freeze it for longer storage.
What flavors pair well with cream cheese?
- Raspberry, apricot, or even a rich chocolate filling would work great!
Conclusion
There you have it—delicious Cream Cheese Thumbprint Cookies that can quickly become a family favorite, just as they have in mine. Whether you’re making them for a gathering or simply to indulge yourself, these cookies promise a delightful experience! I encourage you to try baking them yourself and share your thoughts. Did you love them? Was there a flavor combination that stole the show?
For more recipes, don’t miss out on my blog where I share everything from classic cookie recipes to indulgent desserts! Happy baking!
Cream Cheese Thumbprint Cookies
Ingredients
Method
- Preheat the oven to 350°F (175°C). Make sure it’s fully heated before putting your cookies in for the best rise.
- In a mixing bowl, cream the softened butter and cream cheese until smooth. This should take about 2-3 minutes with an electric mixer on medium speed for a light and fluffy texture.
- Add the granulated sugar, vanilla extract, and salt; mix until well combined. The mix should look creamy and slightly fluffy.
- Gradually add the all-purpose flour and mix until a soft dough forms. Don’t overmix; stop once the flour is just incorporated.
- Roll the dough into balls (about 1 inch in diameter) and place them on a baking sheet lined with parchment paper.
- Use your thumb to create an indent in the center of each ball. If the dough is sticky, lightly flour your thumb.
- Fill each indent with jam or jelly of your choice. Avoid overfilling; just a teaspoon is perfect to avoid leaks.
- Bake for 15-18 minutes or until edges are lightly golden. Keep an eye out for the golden edges.
- Let cool completely and drizzle with icing if desired. Drizzle icing in a fun zig-zag pattern for flair.