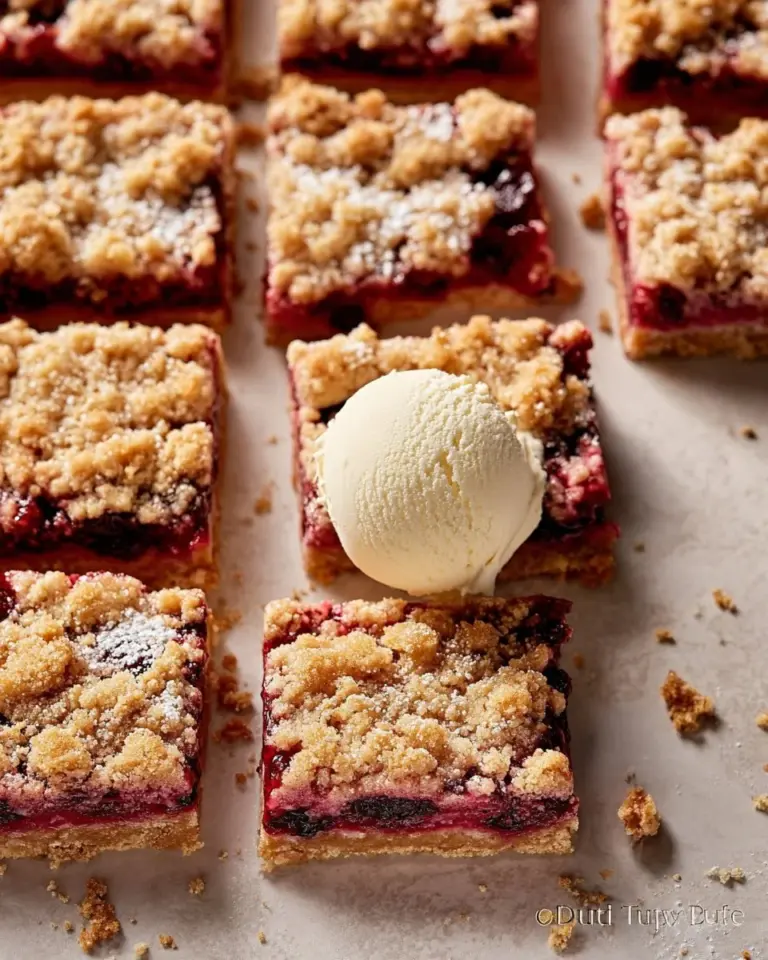
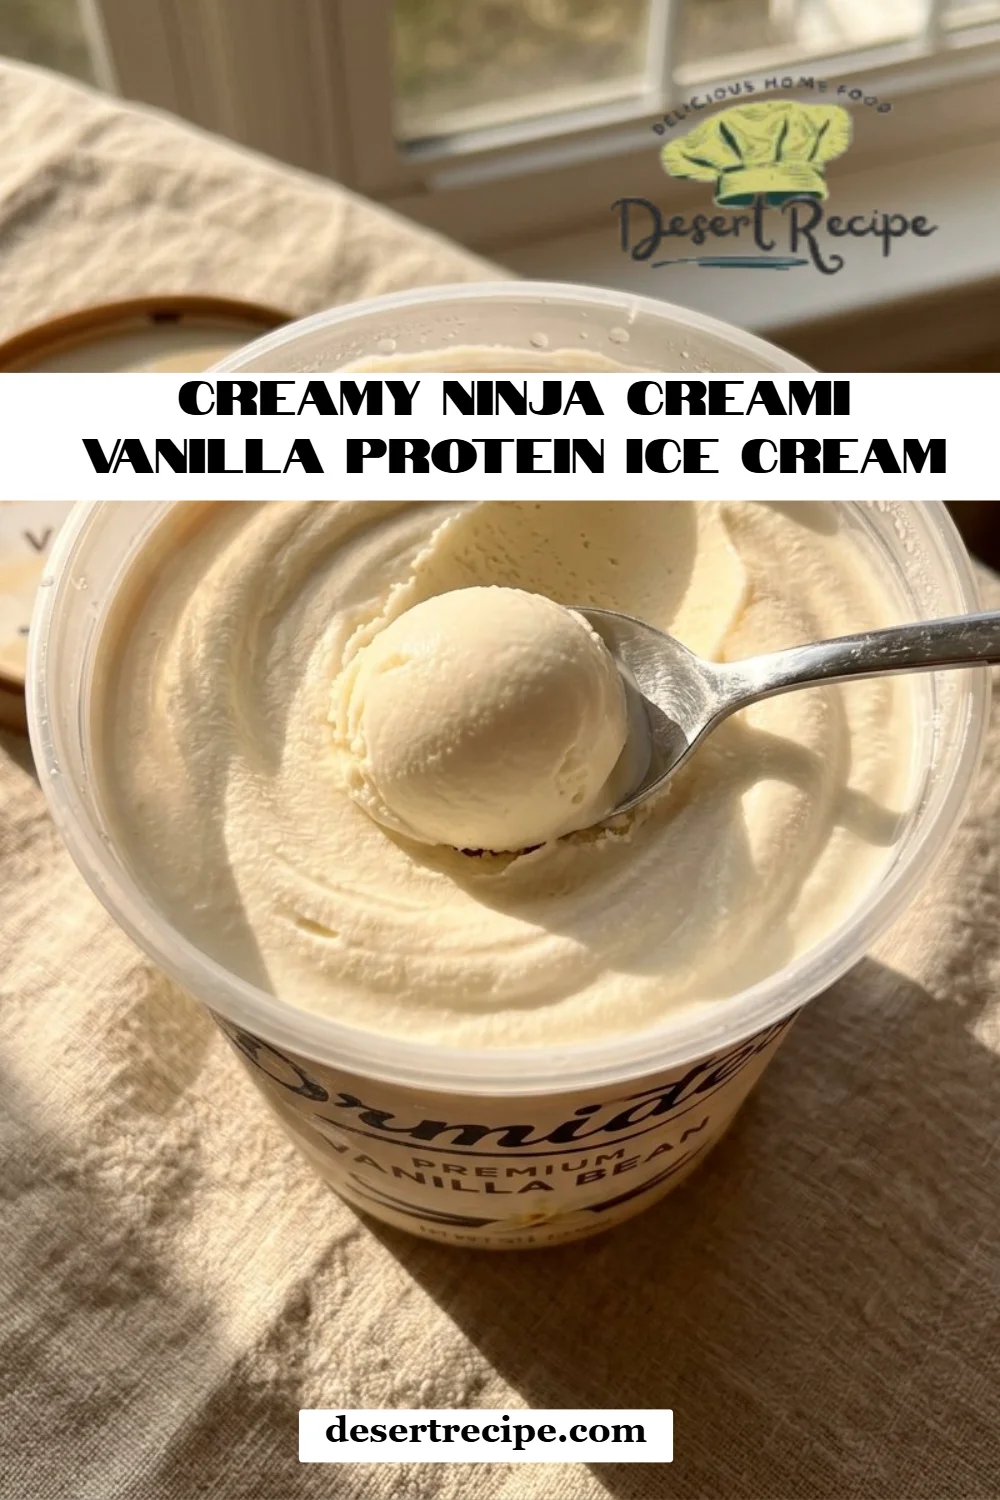
Creamy Ninja Creami Vanilla Protein Ice Cream: Your New Favorite Guilt-Free Treat!
Imagine a hot summer day; you’ve just finished a tough workout, and all you crave is something cold and sweet to cool you down. Ice cream, perhaps? But instead of reaching for a store-bought pint loaded with sugar and artificial ingredients, let me introduce you to my secret weapon: Creamy Ninja Creami Vanilla Protein Ice Cream! Not only is it creamy and delicious, but it’s also packed with protein, making it a guilt-free indulgence that satisfies both your sweet tooth and your fitness goals.
Growing up, ice cream was a staple in our family. There were countless evenings spent sitting on the porch with my siblings, indulging in scoops of vanilla goodness drizzled with chocolate syrup. Now, as an adult, I’ve turned to creating healthier versions that still capture that nostalgic flavor while being mindful of my nutrition. This recipe stands out from the rest not just because it’s protein-packed, but also because it uses simple, wholesome ingredients. You won’t find any strange additives or preservatives here—just pure, delicious ice cream.
In this post, you’ll learn how to whip up this delightful frozen treat in under an hour (excluding freeze time!). Trust me; once you try it, you’ll never look at store-bought ice cream the same way again!
What Are Creamy Ninja Creami Vanilla Protein Ice Cream?
The Creamy Ninja Creami Vanilla Protein Ice Cream is a delightful spin on traditional ice cream that highlights the magic of the Ninja Creami machine. Born out of a desire to enjoy dessert without the guilt, this recipe features a luscious blend of flavors and textures that will leave you wondering how something so healthy can taste so good!
When you take a spoonful of this ice cream, you’ll immediately notice its velvety smooth texture, thanks to the creamy coconut base and a hint of vanilla. It’s sweet yet light, making it the perfect post-workout treat or an anytime snack. The combination of almond milk, coconut cream, and vanilla protein powder creates an indulgent taste that feels like a cheat day but is actually incredibly nutritious!
You can whip this up on a weekend afternoon or make it ahead for meal prep. It’s a fantastic way to treat yourself to a frozen delight that aligns with your health goals!
Why You’ll Love This Recipe
Guilt-Free Indulgence: Unlike many store-bought ice creams packed with sugar and artificial ingredients, this recipe uses wholesome ingredients, making it suitable for fitness enthusiasts and health-conscious individuals alike.
Customizable Flavors: One of the best parts about this recipe is its versatility. Want a chocolate twist? Toss in some cocoa powder or chocolate protein powder. Craving a fruit flavor? Blend in strawberries or bananas for a refreshing treat.
Cost-Effective: Making ice cream at home is not only healthier but also kinder to your wallet! A single pint at the store can run you upwards of $5, while this homemade version is significantly cheaper and you can make more than one batch for the price of one!
Easy to Make: With just a few ingredients and minimal effort, even novice cooks can master this recipe. The Ninja Creami simplifies the ice cream-making process, making it easy for anyone to churn out delicious frozen treats.
Quick Prep Time: This ice cream takes minimal time to prep (about 10 minutes!), though you will need to freeze it for 24 hours. But trust me, it’s worth the wait!
Ingredients
1 1/3 cups almond milk (or coconut milk): I prefer almond milk for its creamy texture, but coconut milk will add more richness if you’re looking for a decadent treat. Ensure it’s unsweetened for the best results.
1/3 cup coconut cream, melted: This adds a delightful creaminess and mouthfeel. For easier mixing, make sure it’s at room temperature.
2 Tbsp honey (or maple syrup for a vegan option): A natural sweetener to enhance flavor. Honey gives warmth, while maple syrup offers a unique twist.
1 scoop Equip vanilla protein powder: I love Equip for its natural ingredients and delicious vanilla flavor. It’s a game changer for increasing protein intake without sacrificing taste.
1/2 tsp vanilla extract: Always use high-quality vanilla extract for the best flavor.
Preparation Notes:
- Allow the coconut cream to melt before measuring for better blending.
- If you’re using honey, I recommend warming it slightly to make it easier to incorporate with the other ingredients.
Step-by-Step Instructions
Combine Ingredients: In a Ninja Creami pint, combine 1 1/3 cups of almond milk (or coconut milk), 1/3 cup of melted coconut cream, 2 tablespoons of honey (or maple syrup), 1 scoop of Equip vanilla protein powder, and 1/2 teaspoon of vanilla extract. Use a blender or whisk to ensure everything is well combined. You want a smooth mixture without any lumps!
Freeze for 24 hours: Transfer the mixture to the Ninja Creami pint, cover it, and place it in the freezer for 24 hours. Make sure it’s flat to ensure even freezing.
Thaw Slightly: After 24 hours, remove the pint from the freezer and let it sit at room temperature for about 10 minutes. This is key to achieving the perfect texture when churning.
Churn: Place the pint into the Ninja Creami machine and select the ‘Lite Ice Cream’ setting. This should take about 2-3 minutes.
Re-Spin if Needed: If it’s not as smooth as you’d like, simply re-spin it on the same setting. The beauty of the Ninja Creami is in its ability to create that velvety consistency!
Serve: Enjoy immediately, or if you prefer a firmer texture, transfer it to an airtight container and freeze for an additional hour.
Chef’s Tips:
- If you see the ice cream is icy instead of creamy, it may be due to not blending well initially. Make sure everything is combined until smooth before freezing.
Expert Tips & Troubleshooting
Ingredient Quality: The better the ingredients, the better your ice cream will taste. Always choose organic and high-quality products when possible.
Storage Recommendations: If you have leftovers, store your ice cream in an airtight container in the freezer. It lasts for up to 2 weeks—though, let’s be real, it probably won’t last that long!
Make-Ahead Instructions: You can prepare the base a few days in advance and freeze it. Just let it thaw for 10 minutes before churning.
Troubleshooting:
- Too Hard: If it’s too hard to scoop after freezing, let it sit at room temperature for a few minutes before serving.
- Grainy Texture: Ensure you’re mixing ingredients thoroughly without any clumps—this is key for a smooth finish.
Dietary Needs: This recipe is easily adjusted for dietary restrictions. For a dairy-free version, simply use coconut cream and almond milk. For a vegan option, use maple syrup instead of honey.
Serving Suggestions
Your Creamy Ninja Creami Vanilla Protein Ice Cream is versatile. You can serve it as is or dress it up a notch! Here are some ideas:
Toppings: Add fresh fruit, dark chocolate chips, or a sprinkle of toasted nuts for texture. A drizzle of nut butter takes it to another level!
Presentation: Scoop the ice cream into chilled bowls or waffle cones for an elegant touch at gatherings or family movie nights.
Occasions: Perfect for summer barbecues, after-school treats, or any time you need a little pick-me-up.
Variations & Substitutions
Feeling adventurous? Spice up your vanilla ice cream with these variations:
Chocolate Chip Cookie Dough: Fold in vegan cookie dough pieces and chocolate chips for a fun twist.
Mint Chocolate Chip: Add a few drops of peppermint extract and fold in dark chocolate chips for a refreshing minty flavor.
Seasonal Variations: Try pureed pumpkin and spices for fall, or fresh berries in the summer for a fruity delight.
Nutrition & Storage Info
- Prep Time: 10 minutes
- Cook Time: Freeze for 24 hours
- Total Time: 24 hours 10 minutes
- Yield: About 2–4 servings (depending on scoop size)
- Estimated Calories per Serving: Approximately 150 calories
- Storage Instructions: Store in an airtight container in the freezer. Best consumed within 2 weeks.
FAQ Section
Can I use a different type of protein powder?
Absolutely! Feel free to substitute with your preferred flavor, but keep in mind that the taste may vary.Can I make this without the Ninja Creami?
Yes! You can use a traditional ice cream maker, but the results may differ in texture. Alternatively, you can pulse it in a blender every couple of hours while it’s freezing.Is this recipe gluten-free?
Yes, this recipe is naturally gluten-free as it doesn’t contain any gluten-containing ingredients.How can I make it sweeter?
Adjust the sweetness by adding more honey or maple syrup, or even using flavored protein powders.Is it kid-friendly?
Absolutely! Kids will love the creamy texture and delicious flavor, plus it’s a healthier option than traditional ice cream.Can I make this in smaller portions?
You can easily halve the recipe if you want a smaller batch. Just adjust the freezing time accordingly.What can I do with leftovers?
Use any leftover ice cream in smoothies or milkshakes for an added protein boost.What’s the best way to serve it?
Scoop it while slightly thawed for the best texture, and get creative with toppings!Can I use this recipe as a base for other flavors?
You sure can! This is a versatile base that can be transformed into various flavors by adding your ingredients of choice.Is this recipe suitable for meal prep?
Yes! It’s perfect for meal prepping, just store it in an airtight container in the freezer for easy access during the week.

Conclusion
This Creamy Ninja Creami Vanilla Protein Ice Cream recipe is not just a treat; it’s a healthier alternative that satisfies your cravings while keeping your nutrition in check. I promise that once you make this, you won’t want to go back to store-bought options. I’d love to hear how your ice cream turns out! Feel free to share your thoughts in the comments or any variations you tried—your feedback helps my little food blogging adventure grow.
If you enjoyed this recipe, be sure to check out my other posts for more delicious, guilt-free desserts that you and your family will love. Happy freezing!

Ninja Creami Vanilla Protein Ice Cream
Ingredients
Method
- In a Ninja Creami pint, combine all the base ingredients: almond milk, melted coconut cream, honey (or maple syrup), vanilla protein powder, and vanilla extract. Blend or whisk until smooth.
- Transfer the mixture to the Ninja Creami pint, cover, and freeze for 24 hours, ensuring it’s flat for even freezing.
- After 24 hours, allow the pint to sit at room temperature for about 10 minutes for easier churning.
- Churn the mixture in the Ninja Creami machine using the 'Lite Ice Cream' setting for about 2-3 minutes.
- If the mixture isn't as smooth as desired, re-spin on the same setting.
- Serve immediately or freeze for an additional hour for a firmer texture.