Table of Contents
Table of Contents
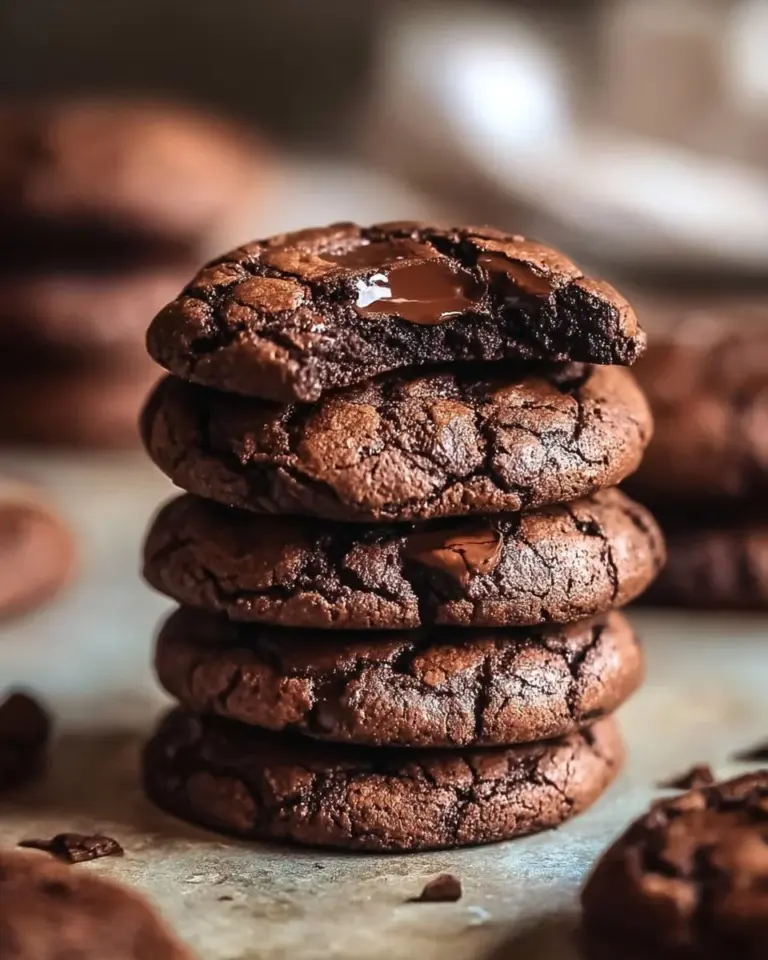
Imagine this: It’s a cozy Sunday afternoon, the smell of something sweet wafting through the house, and as you take a moment to sip your coffee, you hear the faint giggles of your kids in the kitchen. They’re elbows-deep in flour and chocolate, all the while trying to reach the top shelf for those luscious chocolate chunks. This lovely scene is what inspired my obsession with Red Velvet Chocolate Chunk Cookies – decadent bliss that not only satisfies your sweet tooth but also creates cherished family memories.
There’s something undeniably special about these cookies. The vibrant red hue intertwined with rich chocolate chunks not only catches your eye but also tickles your taste buds. Having made countless cookie recipes, I can confidently say that this one reigns supreme. Why, you ask? It’s all in the texture: soft yet slightly puffy, with a gooey center every cookie lover dreams of. Plus, the delightful balance of sweetness from both granulated and brown sugars adds a deeper caramel-like complexity.
In this blog, I promise to guide you step-by-step through crafting these mouthwatering Red Velvet Chocolate Chunk Cookies that you—and your family—will adore. Get ready for a baking adventure!
What Are Red Velvet Chocolate Chunk Cookies – Decadent Bliss?
Red velvet isn’t just for cakes! The history of red velvet cookies is as colorful as their name suggests. Originating as a popular cake flavor, it gained fame in the United States during the 1920s and has since evolved into various delightful treats, including cookies.
These cookies are lush, with a plush texture that melts in your mouth. The cocoa powder gives just enough chocolate flavor to balance the sweetness. It’s this interesting contrast that makes each bite feel like a celebration. Imagine biting into warm, soft cookies studded with gooey chocolate chunks, the comforting taste reminiscent of grandma’s kitchen on a chilly day.
So why whip these up? Whether it’s for a special occasion, a lunchbox surprise, or simply to indulge yourself, Red Velvet Chocolate Chunk Cookies are perfect any time you want a delectable treat. Let’s dive into why you’ll absolutely love this recipe!
Why You’ll Love This Recipe
Gourmet Flavor Without the Price Tag: Imagine biting into a cookie that tastes like it came straight from an upscale bakery, only to find out you made it yourself! The ingredients are simple yet transformative, ensuring that your wallet stays as happy as your taste buds.
Customizable Options: Want to make these cookies your own? You can swap the chocolate chunks for white chocolate or nuts, infuse them with a hint of orange zest, or even add some peppermint extract for a festive flare during the holiday season! The possibilities are endless.
Quick and Easy: You won’t need a culinary degree for these! With straightforward steps and all ingredients readily available at your grocery store, you’ll be baking like a pro in no time. This recipe is beginner-friendly, yet it yields impressively beautiful results.
Perfect for Sharing: There’s no better way to spread joy than sharing delicious baked goods. Whether you’re bringing them to a potluck, a family gathering, or just to brighten a neighbor’s day, these cookies are sure to create smiles and warm hearts.
A Natural Crowd-Pleaser: Kids? Adults? Everyone loves cookies! These Red Velvet Chocolate Chunk Cookies are not just visually stunning, they have a flavor that appeals to anyone with a sweet tooth, making them the perfect treat.

Ingredients
For these flavorful cookies, gather the following ingredients:
- 1 ½ cups all-purpose flour: This will help create the perfect structure. Make sure it’s sifted for a fluffier cookie.
- ¼ cup unsweetened cocoa powder: The essential ingredient that provides the characteristic rich chocolatey red velvet flavor.
- 1 tsp baking soda: Giving the cookies a slight puffiness and ensuring they bake up soft.
- ¼ tsp salt: To enhance the sweetness and balance out the flavors.
- ½ cup unsalted butter, softened: For a rich, creamy base. Ensure it’s at room temperature for easier mixing.
- ¾ cup granulated sugar: For that delightful sweetness.
- ¼ cup brown sugar: This adds moisture and a hint of caramel flavor that pairs perfectly with our chocolate chunks.
- 1 large egg: Acts as a binder to bring everything together.
- 1 tbsp milk: Kept at room temperature, this adds moisture and softness to the dough.
- 1 tbsp red food coloring: For that classic, stunning red velvet look—choose a high-quality gel food coloring for best results.
- 1 ½ tsp vanilla extract: It will deepen the flavor profile, turning a good cookie into a great one.
- 1 cup chocolate chunks (plus extra for topping): For gooey, melty chunks in every bite.
Substitutions:
- Gluten-Free Flour: Substitute with a 1:1 gluten-free baking flour to make these cookies gluten-free.
- Vegan Option: Use vegan butter, a flax egg (1 tbsp flaxseed meal + 3 tbsp water), and plant-based milk for a delightful vegan twist.

Step-by-Step Instructions
Step 1: Preheat the Oven
Preheat your oven to 350°F (175°C). This is a crucial step; an adequately heated oven ensures your cookies bake evenly.
Step 2: Prepare the Dry Ingredients
In a medium bowl, whisk together the flour, cocoa powder, baking soda, and salt until well combined. This step is essential for ensuring there are no lumps of cocoa powder in your final mix.
Step 3: Cream the Butter and Sugars
In a large mixing bowl, combine the softened butter, granulated sugar, and brown sugar.
Chef’s Tip: I like to use a stand mixer with a paddle attachment for this step. Cream on medium speed for about 3-5 minutes or until the mixture is light and fluffy, making sure to scrape down the sides of the bowl to incorporate everything.
Step 4: Add the Wet Ingredients
Now, add the egg, milk, red food coloring, and vanilla extract to the butter-sugar mixture. Mix until well blended — you want that beautiful red color to be evenly distributed.
Step 5: Combine the Dry and Wet Mixtures
Gradually add the dry ingredients to the wet mixture. Mix just until combined; avoid over-mixing to keep the cookies tender and soft.
Step 6: Fold in the Chocolate Chunks
Using a spatula, gently fold in the chocolate chunks. This is when the magic truly happens! The more chocolate, the better, am I right?
Common Mistake: Don’t forget to reserve some chunks for topping the cookies before baking!
Step 7: Shape and Bake the Cookies
Using a cookie scoop or two tablespoons, drop dollops of dough onto a lined baking sheet, spacing them about 2 inches apart.
Chef’s Tip: For a gourmet touch, place extra chocolate chunks on top of the cookie dough before baking!
Step 8: Bake and Cool
Bake for 10-12 minutes, or until the edges are set but the centers are still slightly soft. Let them cool on the baking sheet for about 5 minutes before transferring them to a wire rack to cool completely.
Expert Tips & Tricks
- Storage Recommendations: Store your cookies in an airtight container at room temperature for up to 5 days. They can also be frozen for up to 3 months.
- Make-ahead Instructions: You can prepare the dough ahead of time and chill it in the refrigerator for up to 24 hours. This helps develop the flavors and can make the cookies even better!
- Common Problems: If your cookies turn out too flat, ensure your butter is softened, not melted. Always check that your baking soda is active and fresh.
- The Perfect Cookies: Invest in good-quality chocolate chunks; they make all the difference in flavor! Brands like Ghirardelli or Guittard are personal favorites.
Serving Suggestions
Pair these Red Velvet Chocolate Chunk Cookies with a glass of cold milk or a warm cup of cocoa for a comforting afternoon treat. They also shine at festive gatherings—a holiday cookie platter, birthday parties, or family movie nights. For a fun presentation, drizzle some white chocolate over the cookies once they cool for a pretty finishing touch!
Variations & Substitutions
Feel free to get creative! Here are some ideas to switch things up:
- Flavor Combinations: Try adding chopped nuts, or swapping half the chocolate for white chocolate for that festive red-and-white look. A dash of peppermint extract gives a refreshing twist, perfect for the holidays.
- Dietary Restrictions: Make them gluten-free with a 1:1 gluten-free flour replacement. For a vegan twist, swap ingredients as mentioned above.
- Seasonal Variations: For spring, consider folding in some chopped strawberries or raspberries.
Nutrition & Storage Info
- Prep Time: 15 minutes
- Cook Time: 12 minutes
- Total Time: 27 minutes
- Yield: Approximately 24 cookies
- Estimated Calories: 150 calories per cookie
- Storage: Room temperature for up to 5 days; freezer for up to 3 months.

FAQ Section
Can I use cake flour instead of all-purpose flour?
- Yes, cake flour can be used, but adjust the amount slightly as it can lead to a softer cookie.
Why are my cookies flat?
- This may be due to too much butter or under-measuring your flour. Make sure to spoon and level your flour for accuracy.
Can I use another color besides red?
- Absolutely! Feel free to use any gel food coloring of your choice for a fun twist.
What type of cocoa powder should I use?
- Use unsweetened cocoa powder for the best results. Dutch-processed cocoa will give a milder flavor.
What’s the best way to store these cookies?
- An airtight container at room temperature preserves their softness, or freeze them for long-lasting freshness.
Can I add more chocolate chunks?
- Yes! More chocolate means more indulgence, so go ahead and double the amount for gooier cookies.
How do I know when the cookies are done?
- They should be set around the edges but still slightly underbaked in the center. They will continue to firm as they cool.
Can I bake these cookies without red food coloring?
- Definitely! They will still taste great but won’t have the vibrant red color.
Are these cookies good for mail delivery?
- Yes! If packaged correctly, they hold up well in transit, making them perfect gifts.
How do I make these cookies even more special?
- Consider adding a cream cheese frosting drizzle for that ultimate red velvet cake experience!
Conclusion
These Red Velvet Chocolate Chunk Cookies – Decadent Bliss are not just another cookie recipe; they are a journey back in time filled with family traditions, joy, and mouthwatering flavors. Trust me; once you bake these, your kitchen will be flooded with delightful aromas, and you’ll be left wanting more!
I encourage you to try this recipe and share your experience in the comments below. Have your own tips or tricks? Or perhaps another favorite cookie flavor you’d love to see? Let’s talk about it! You can also check out my other holiday-inspired recipes for more inspiration.
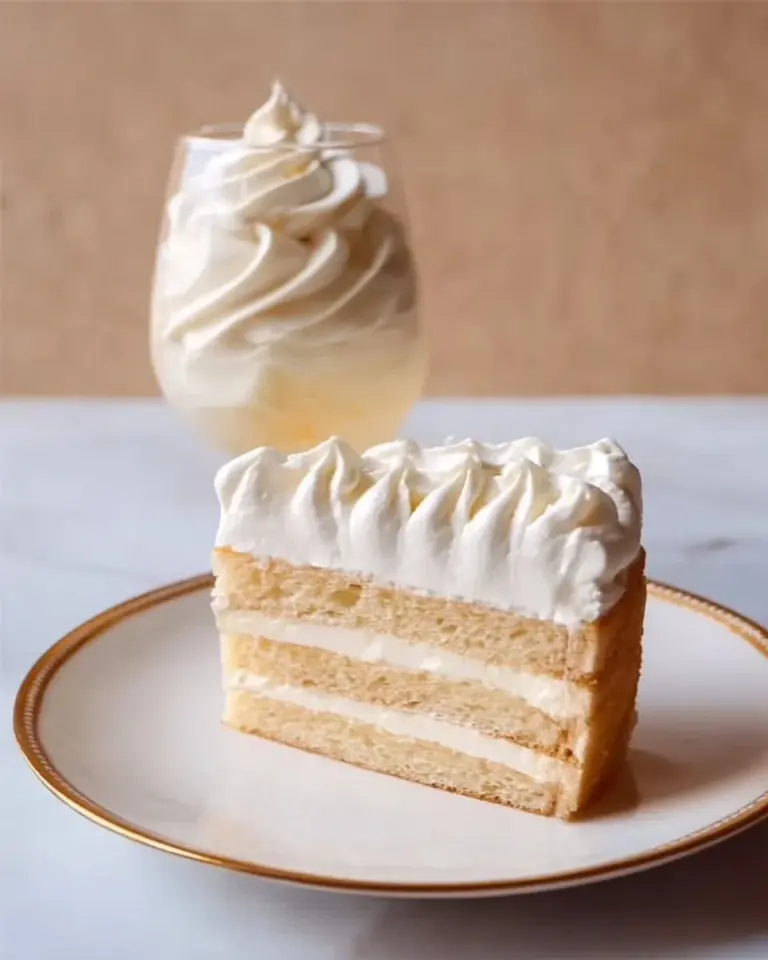
Red Velvet Cheesecake Layer Cake
Happy baking!

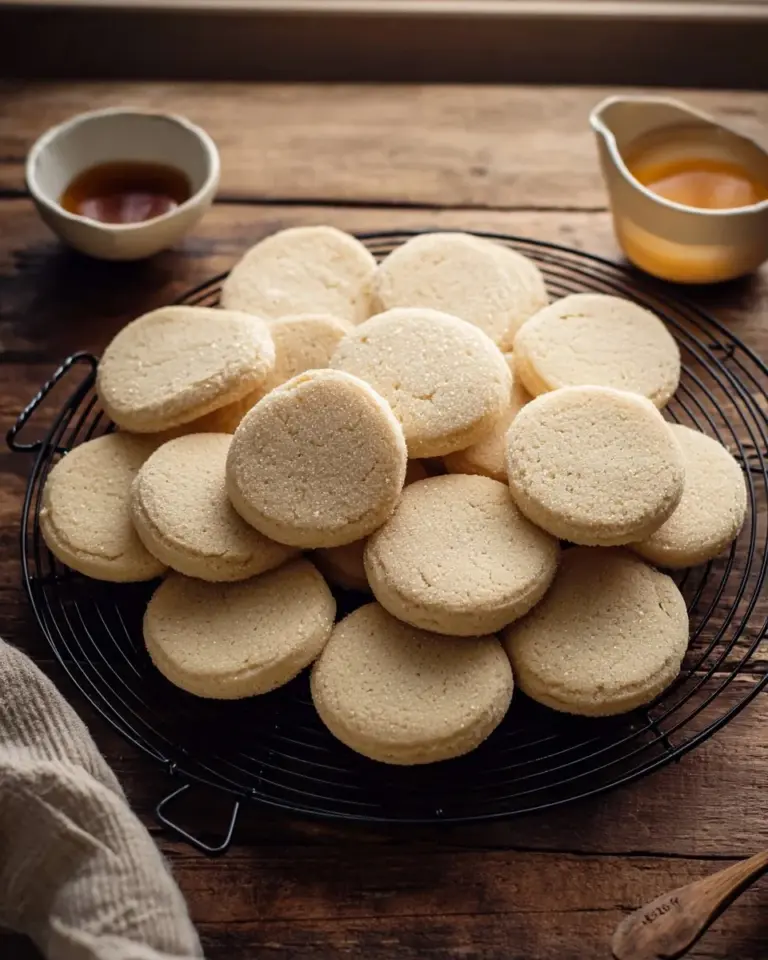
Red Velvet Chocolate Chunk Cookies
Ingredients
Method
- Preheat your oven to 350°F (175°C).
- In a medium bowl, whisk together the flour, cocoa powder, baking soda, and salt until well combined.
- In a large mixing bowl, combine the softened butter, granulated sugar, and brown sugar.
- Cream on medium speed for about 3-5 minutes until light and fluffy.
- Add the egg, milk, red food coloring, and vanilla extract to the butter-sugar mixture and mix well.
- Gradually add the dry ingredients to the wet mixture, mixing just until combined.
- Gently fold in the chocolate chunks with a spatula.
- Using a cookie scoop or two tablespoons, drop dollops of dough onto a lined baking sheet, spacing them about 2 inches apart.
- Bake for 10-12 minutes, or until edges are set but centers remain slightly soft.
- Allow them to cool on the baking sheet for about 5 minutes before transferring to a wire rack to cool completely.