Irresistible No Bake Oreo Cheesecake Cups
The first bite of a No Bake Oreo Cheesecake Cup is a symphony of richness that starts with a crunchy, buttery crust followed by a smooth, velvety filling that melts in your mouth. The decadent fragrance of cream cheese and whipped cream envelops your senses, while the soft texture is punctuated by the delightful crunch of crushed Oreos. One taste, and you’ll find yourself transported to dessert heaven! You may also find No Bake Gingerbread Cheesecake Cups useful.
The Origin & Heritage
No Bake Oreo Cheesecake Cups carry a delightful nostalgia, reminiscent of afternoons in Grandma’s kitchen, where laughter and sweet treats filled the air. This dessert combines the beloved Oreo cookie, first introduced in 1912, with the classic cheesecake that has roots in ancient Greece. Over the decades, these two elements have collided to create an easy, indulgent treat that’s perfect for any occasion. This dish isn’t just a dessert; it’s a slice of memory, providing the comfort of homemade goodness without the need for baking. You may also find Chocolate Spiderweb Cheesecake No Bake 7 Irresistible Tips useful.
The Science of Flavor
- Creamy-Crunchy Contrast: The texture combination of creamy cheesecake and crunchy Oreos creates an enjoyable mouthfeel, enhancing the overall experience.
- Sweetness Balance: The cream cheese’s tanginess balances the sweetness of powdered sugar, preventing the dessert from being overwhelmingly sweet.
- Fat Content: The fat from cream cheese and whipped cream lends a luscious texture while contributing to the rich flavor.
- Cooling Effect: Chilling the cups allows flavors to meld together harmoniously, enhancing each bite’s taste.
- Versatile Base: The crushed Oreo crust acts as a flavorful base, holding the fillings together while adding robust chocolatey notes.
The Ingredients:
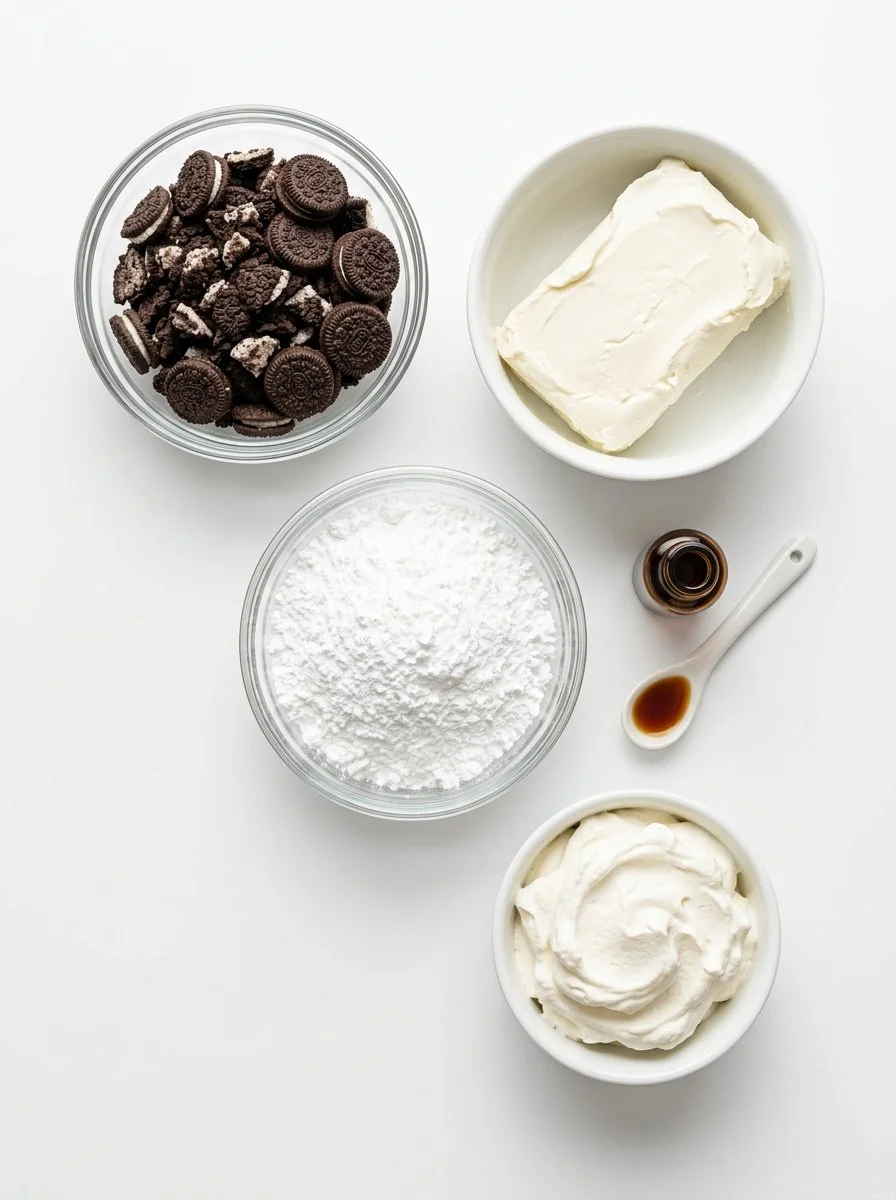
Crust
- 20 Oreo cookies, crushed
- 2 tablespoons unsalted butter, melted
Filling
- 8 oz cream cheese, softened
- 1/2 cup powdered sugar
- 1 teaspoon vanilla extract
- 1 cup whipped cream (homemade or store-bought)
- Additional crushed Oreos for topping
Pro-Note:
- Quality Hack for Cream Cheese: Always choose full-fat cream cheese for a richer flavor and smoother consistency.
- Whipped Cream Tip: For a stable whipped cream, consider using heavy whipping cream instead of regular whipping cream.
The Masterclass Instructions
Before starting your masterpiece, ensure you have all your ingredients and tools ready:
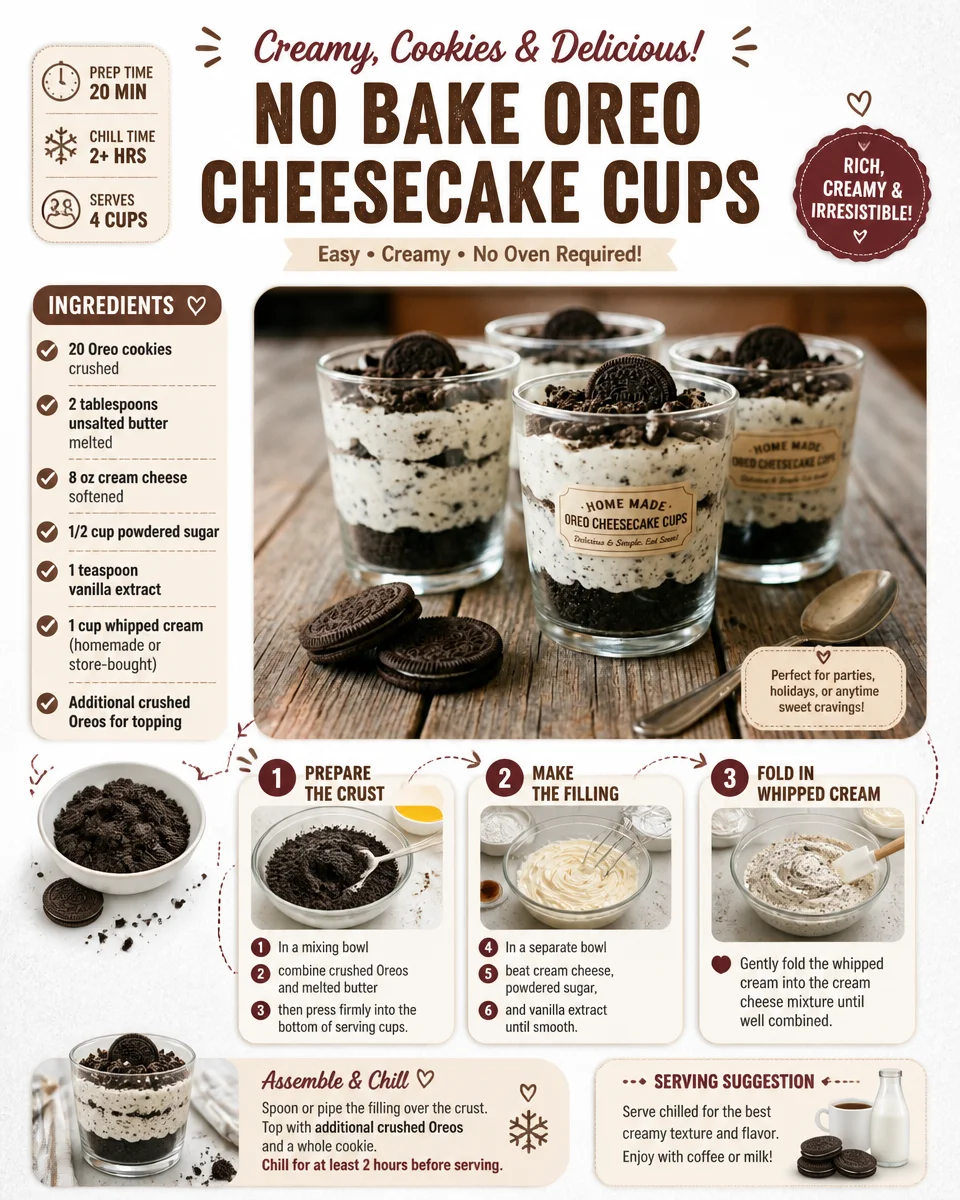
Prepare the Crust: In a mixing bowl, combine crushed Oreos and melted butter, then press firmly into the bottom of serving cups. The texture should be compact, ensuring a sturdy base.
Make the Filling: In a separate bowl, beat the cream cheese, powdered sugar, and vanilla extract until smooth. Listen for the electric mixer whirring as you beat—this indicates a lovely creamy consistency is forming.
Fold in Whipped Cream: Gently fold the whipped cream into the cream cheese mixture until combined. Aim for a fluffy texture; watch it transform as you mix.
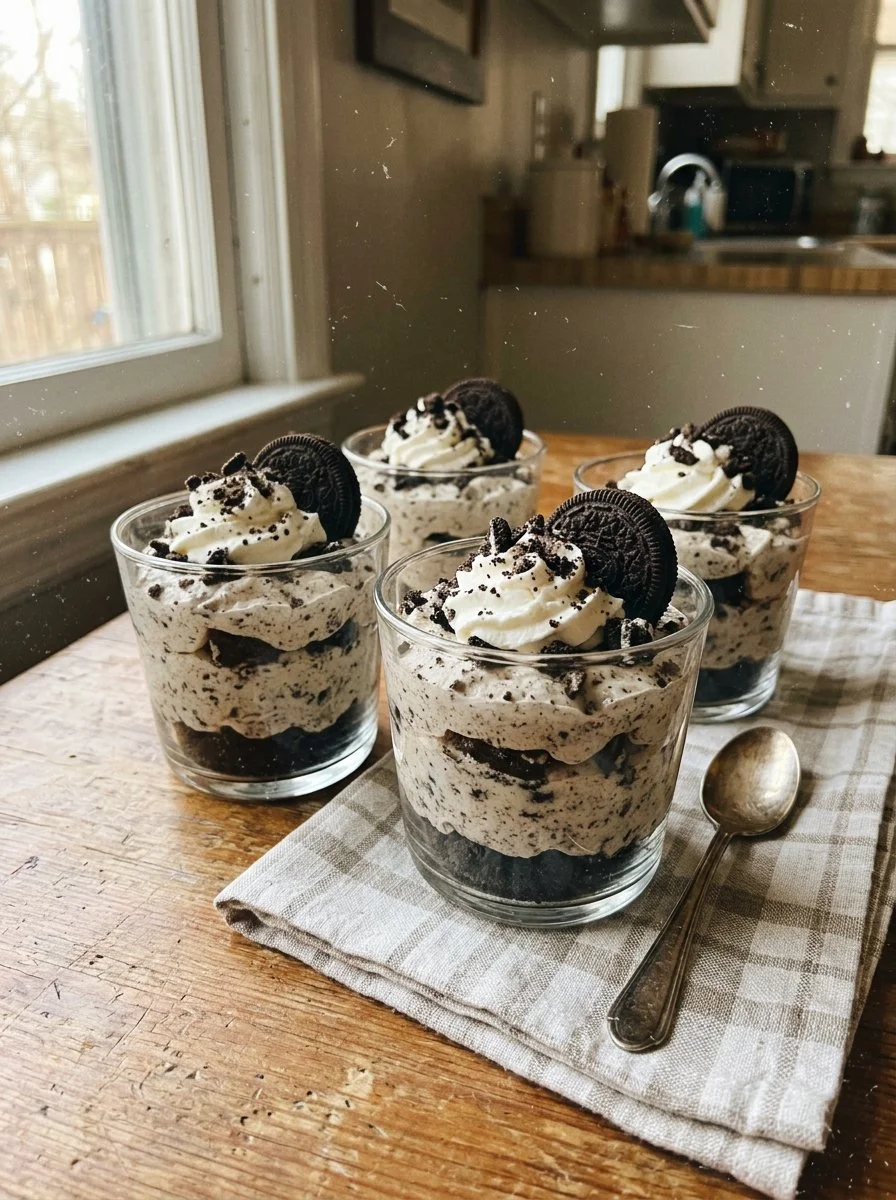
Layer the Cups: Spoon the cheesecake mixture over the crust, sprinkling crushed Oreos in between layers to surprise your palate with that signature flavor.
Chill: Top with more crushed Oreos, cover, and refrigerate for at least 20 minutes before serving. This step is crucial for achieving the best texture and flavors.
A Healthier Perspective
While these No Bake Oreo Cheesecake Cups are indulgent, consider some tips to boost their nutritional value:
- Use Greek Yogurt: Swap out some of the cream cheese for Greek yogurt to add protein and reduce calories.
- Add a Nutty Twist: Incorporate ground nuts into the crust for added fiber and healthy fats.
- Natural Sweeteners: Replace powdered sugar with a natural sweetener like honey or maple syrup for a healthier option.
One key ingredient to note is cream cheese, which provides calcium and vitamin A, essential for maintaining strong bones and healthy skin.
The Troubleshooter
Why did my crust crumble?
Ensure the crushed Oreos are finely ground, and mix in sufficient melted butter for a compact crust.Why is my filling too runny?
Make sure your cream cheese is at room temperature and properly beaten. Adding more whipped cream can also stabilize it.Why did my layers separate?
To avoid separation, it’s important to gently fold the whipped cream rather than mixing vigorously, allowing air to keep the mixture light.
The Art of Serving
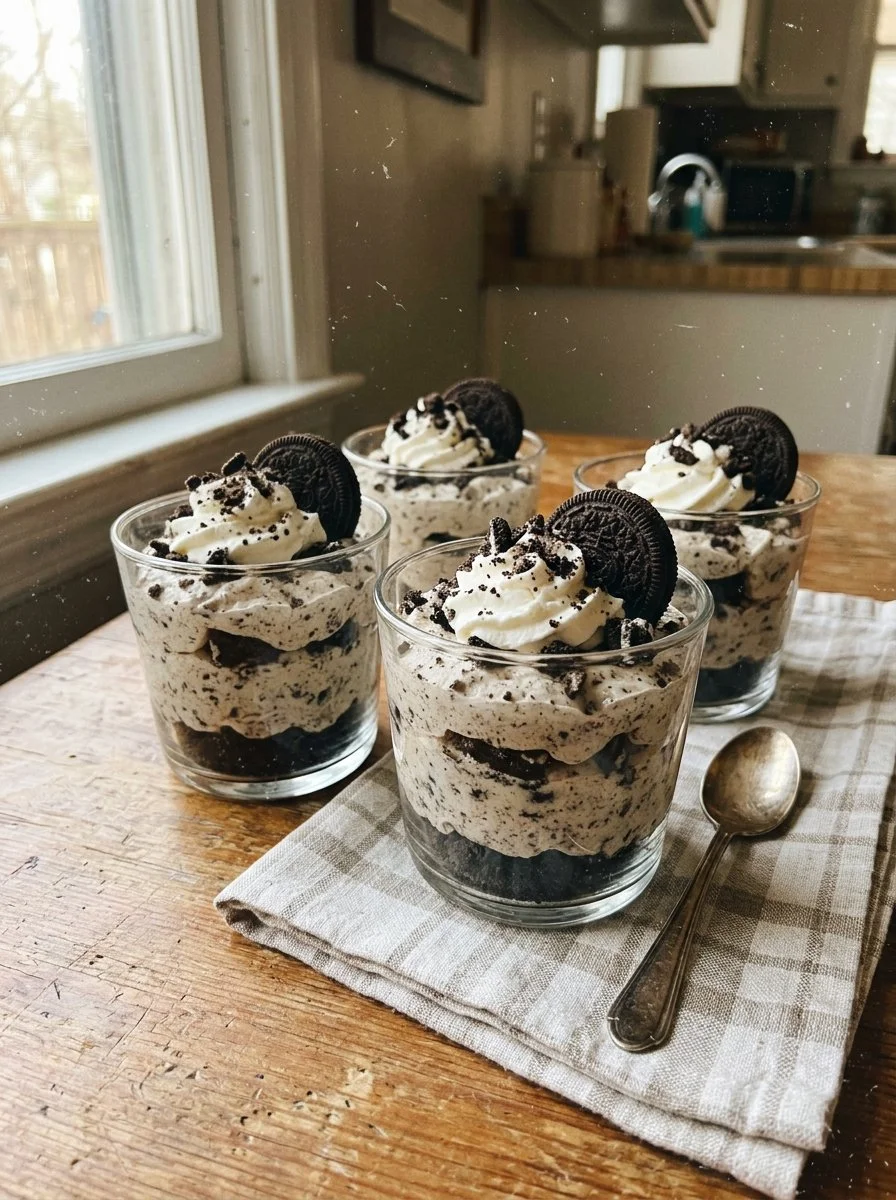
Present your No Bake Oreo Cheesecake Cups in clear cups to showcase the beautiful layers. Add a dollop of whipped cream on top, sprinkled with additional crushed Oreos, and pair with a refreshing glass of milk or coffee for a complete dessert experience. This treat is perfect for casual get-togethers, family gatherings, or simply to enjoy at home for a sweet self-reward.
The Dietary Lab
To accommodate dietary preferences:
- Vegan: Replace cream cheese with coconut cream and use vegan whipped cream instead.
- Gluten-Free: Use gluten-free Oreo cookies for the crust.
- Keto: Substitute Oreos with a keto-friendly cookie and use a low-carb sweetener in the filling.
Storage & Revival
- Yield: 4-6 servings
- Prep Time: 15 minutes
- Cook Time: 0 minutes (no baking required)
The Revival Rule
To serve chilled after storage, remove the cups from the refrigerator and allow them to sit at room temperature for about 10 minutes before enjoying. Strictly avoid using a microwave, as it can compromise the texture of your cheesecake cups.
MANDATORY FAQ
What is the best way to crush Oreos?
Using a food processor can provide a fine crumb, but you can also place them in a zip-lock bag and crush them with a rolling pin.
Can I make these ahead of time?
Yes, they can be prepared a day in advance and stored in the refrigerator.
What other toppings can I use?
Ideas include chocolate syrup, fresh berries, or whipped coconut cream for a twist.
How long do these cheesecake cups last in the fridge?
They can last up to 3 days if stored properly in an airtight container.
Can I replace the whipped cream with something else?
Yes, you can use whipped coconut cream or leave it out for a denser cheesecake.
Is it possible to make this recipe dairy-free?
Absolutely! Use dairy-free cream cheese and whipped cream.
How can I adjust the sweetness?
Feel free to decrease the powdered sugar in the filling to suit your taste.
What’s the easiest way to serve these?
Serving them in individual cups is ideal for easy portion control and presentation.
Can I freeze these cheesecake cups?
It’s best not to freeze them, as the texture may change once thawed.
What other flavors can I create?
Experiment with different cookie flavors or add fruit purees to the filling for variations.
The Final Bite
Indulging in No Bake Oreo Cheesecake Cups is an experience worth savoring. Leave a comment below if you tried the Irresistible No Bake Oreo Cheesecake Cups! Additionally, explore related recipes like No Bake Gingerbread Cheesecake Cups, Chocolate Spiderweb Cheesecake, and Strawberry Shortcake Cups for your next sweet delight.
Conclusion
These No Bake Oreo Cheesecake Cups are a delightful treat that’s easy to prepare and sure to impress your friends and family. If you’re in the mood for a delicious twist, check out this recipe for No Bake OREO Cheesecake Cups, or for another quick option, explore 5 Ingredient No-Bake Oreo Cheesecake Cups. Enjoy diving into this delectable world of flavors!
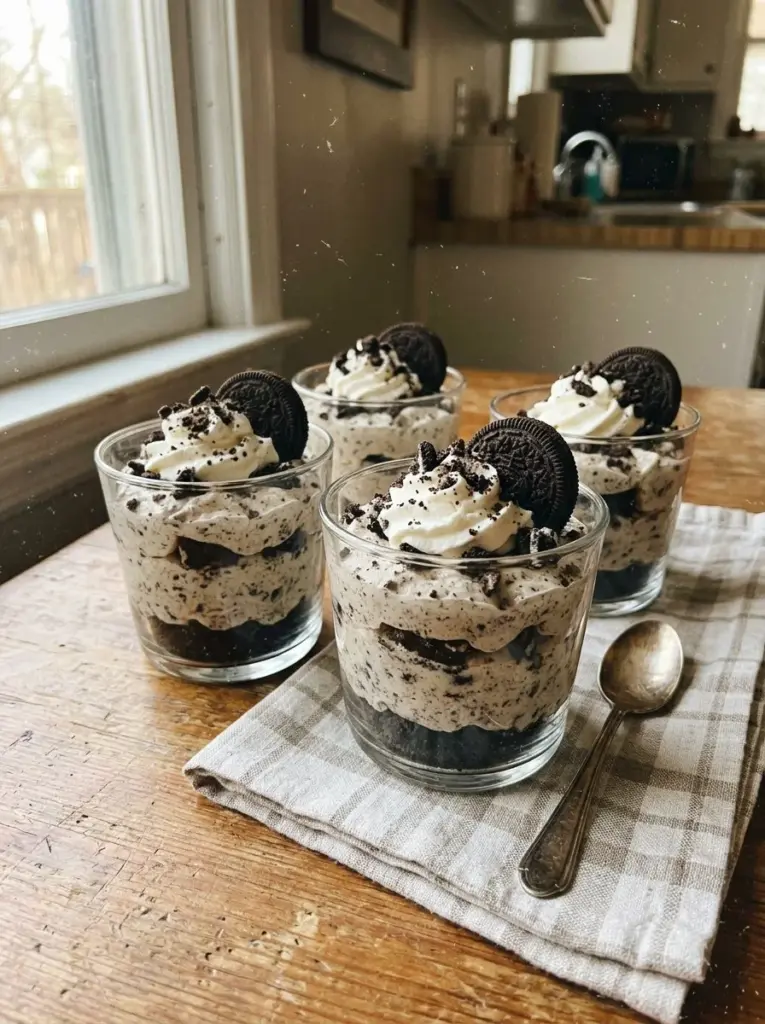
No Bake Oreo Cheesecake Cups
Ingredients
Method
- In a mixing bowl, combine crushed Oreos and melted butter, then press firmly into the bottom of serving cups.
- In a separate bowl, beat the cream cheese, powdered sugar, and vanilla extract until smooth.
- Gently fold the whipped cream into the cream cheese mixture until fully combined.
- Spoon the cheesecake mixture over the crust, sprinkling crushed Oreos in between layers.
- Top with more crushed Oreos, cover, and refrigerate for at least 20 minutes before serving.